The Art of Plaster Ceiling Restoration
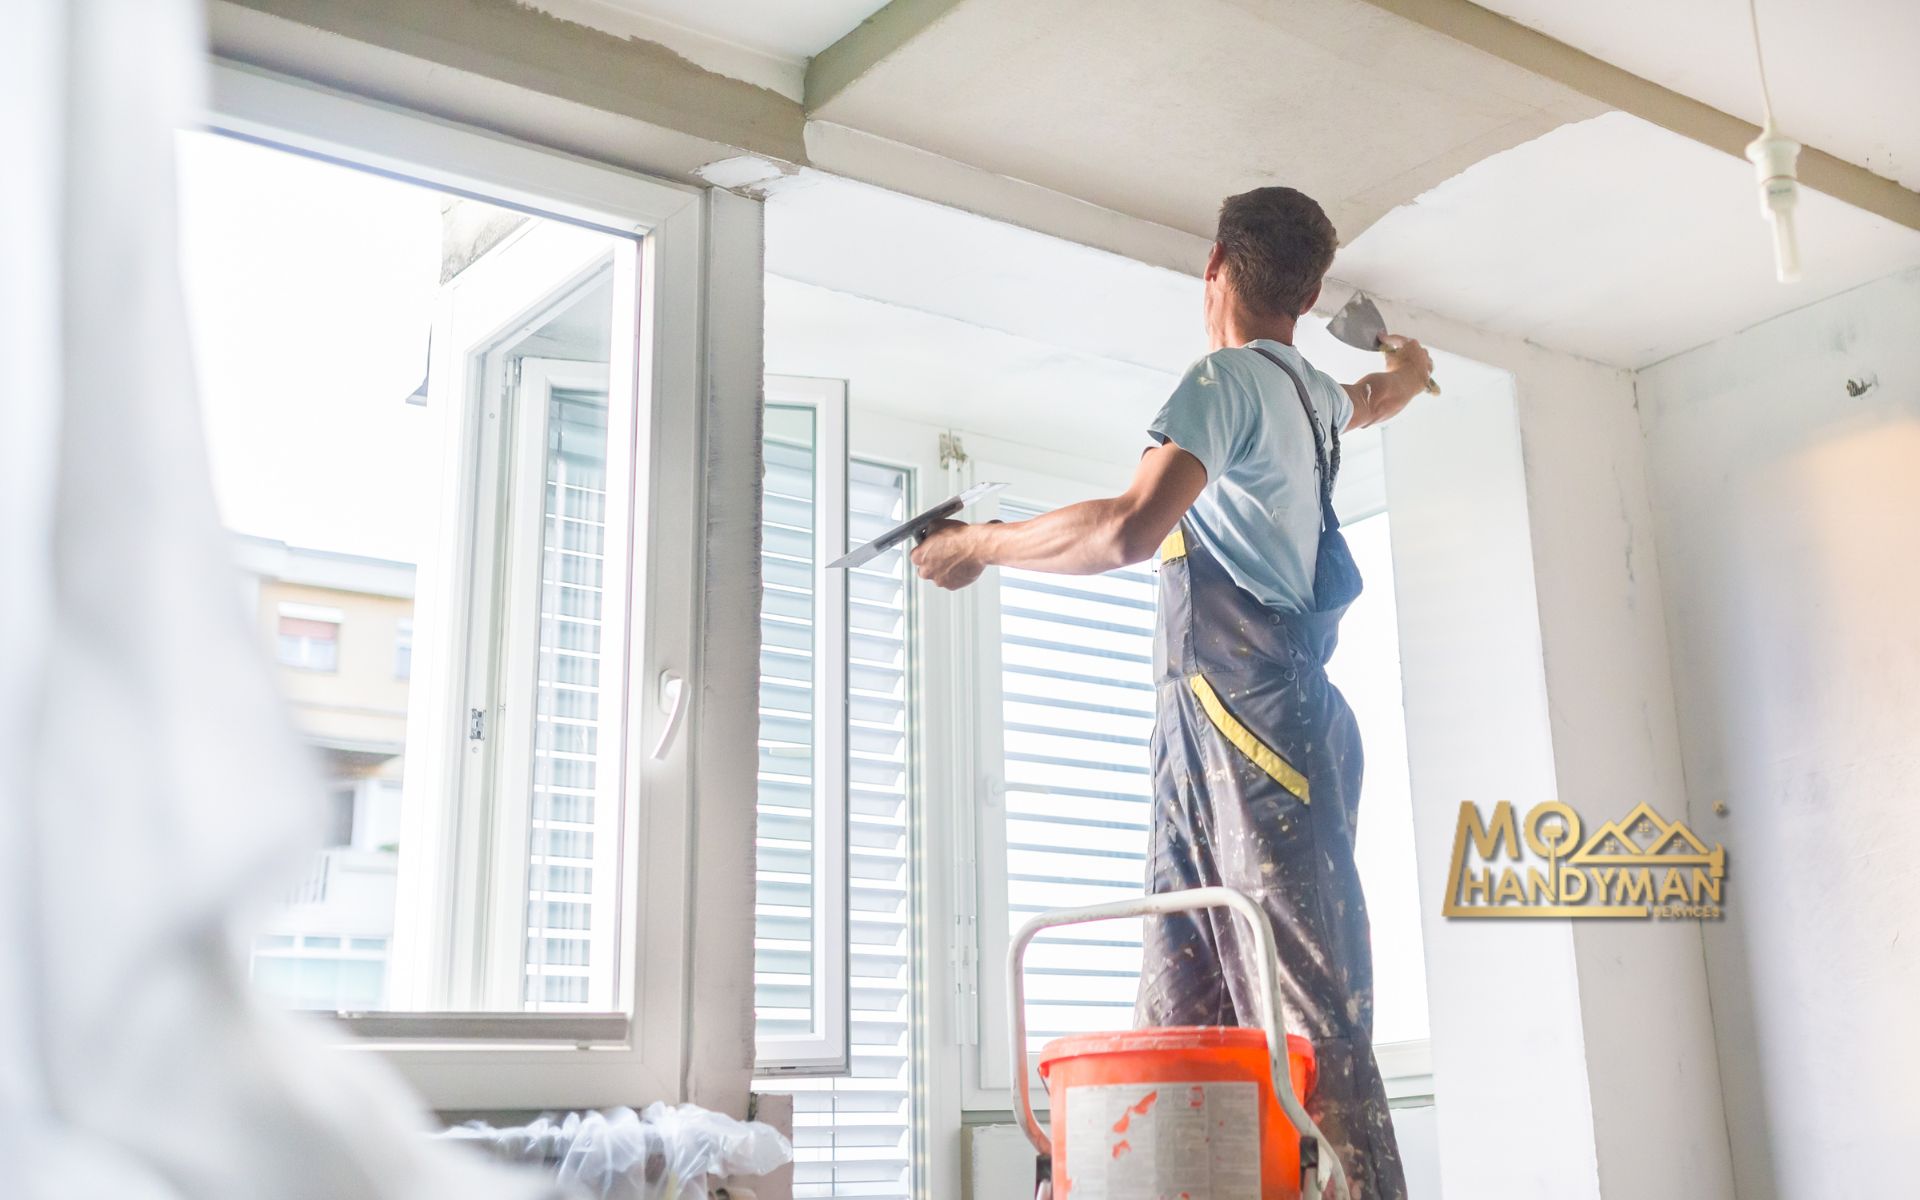
Restoring a plaster ceiling is not just a repair task; it’s an art that revives the charm and integrity of your home. If you’re facing plaster ceiling crack repair or embarking on DIY plaster ceiling repair, it’s crucial to approach the process with the right knowledge and tools. This comprehensive guide is designed to empower homeowners to tackle plaster ceiling restoration with confidence, ensuring that the beauty and durability of their ceilings are preserved for years to come. For those who prefer professional assistance, exploring residential services can offer expert help in making your ceilings look splendid again.
Repairing a plaster ceiling involves more than just filling in cracks and holes. It’s about understanding the material, the structure, and the history of your home to make informed, effective repairs. Whether you’re dealing with minor damage or significant issues like a sagging plaster ceiling, this guide will walk you through the essential steps and techniques needed for successful restoration. Let’s dive into the world of plaster ceiling repair and discover how to bring your ceilings back to their former glory.
Transitioning now, let’s delve into identifying and addressing common plaster ceiling problems, which is crucial for setting the foundation for successful restoration.
Identifying Common Issues with Plaster Ceilings
When it comes to plaster ceiling restoration, the first step is identifying the issues. Common problems include cracks, holes, water damage, and sagging. Each problem has its signs and solutions. For instance, plaster ceiling crack repair and fixing holes in plaster ceilings are often needed due to age or physical impact. These issues, though seemingly minor, can worsen if ignored.
Moreover, repairing water-damaged plaster ceilings is crucial. Water damage often appears as stains or bulging plaster. It’s vital to fix the leak source before repairing the plaster. Ignoring this can lead to mold and structural issues.
Sagging is another serious concern. It indicates the detachment of plaster from the lath. This requires a more involved repair process to secure the plaster back to the lath. For each issue, the repair process starts with a thorough assessment. Then, one can determine the best plaster ceiling repair techniques to use.
In addition, reinforcing plaster ceilings might be necessary. This is especially true in older homes. Over time, plaster can detach from its lath. This calls for a careful approach to reattach and reinforce it. This ensures the ceiling’s durability and safety.
In summary, understanding these common issues is the first step towards effective plaster ceiling restoration. With the right approach, you can address these problems and ensure your ceiling’s longevity. Now, let’s explore the step-by-step process for repairing these issues in the next section.
Step-by-Step Guide to Plaster Ceiling Repair
Repairing a plaster ceiling can seem daunting. Yet, with the right tools and a step-by-step approach, it’s achievable. Let’s break down the repair process into manageable steps, focusing on common repairs like fixing cracks, holes, and water damage.
1. Preparing the Area: First, clear the room or cover furniture with dust sheets. Safety is paramount, so wear protective gear.
2. Addressing Cracks: For plaster ceiling crack repair, start by widening the crack slightly with a utility knife. This creates a better surface for the filler to adhere to. Then, dust off any loose debris. Apply a plaster repair compound using a flexible filling knife, ensuring it’s pushed well into the crack. Once dry, sand it smooth.
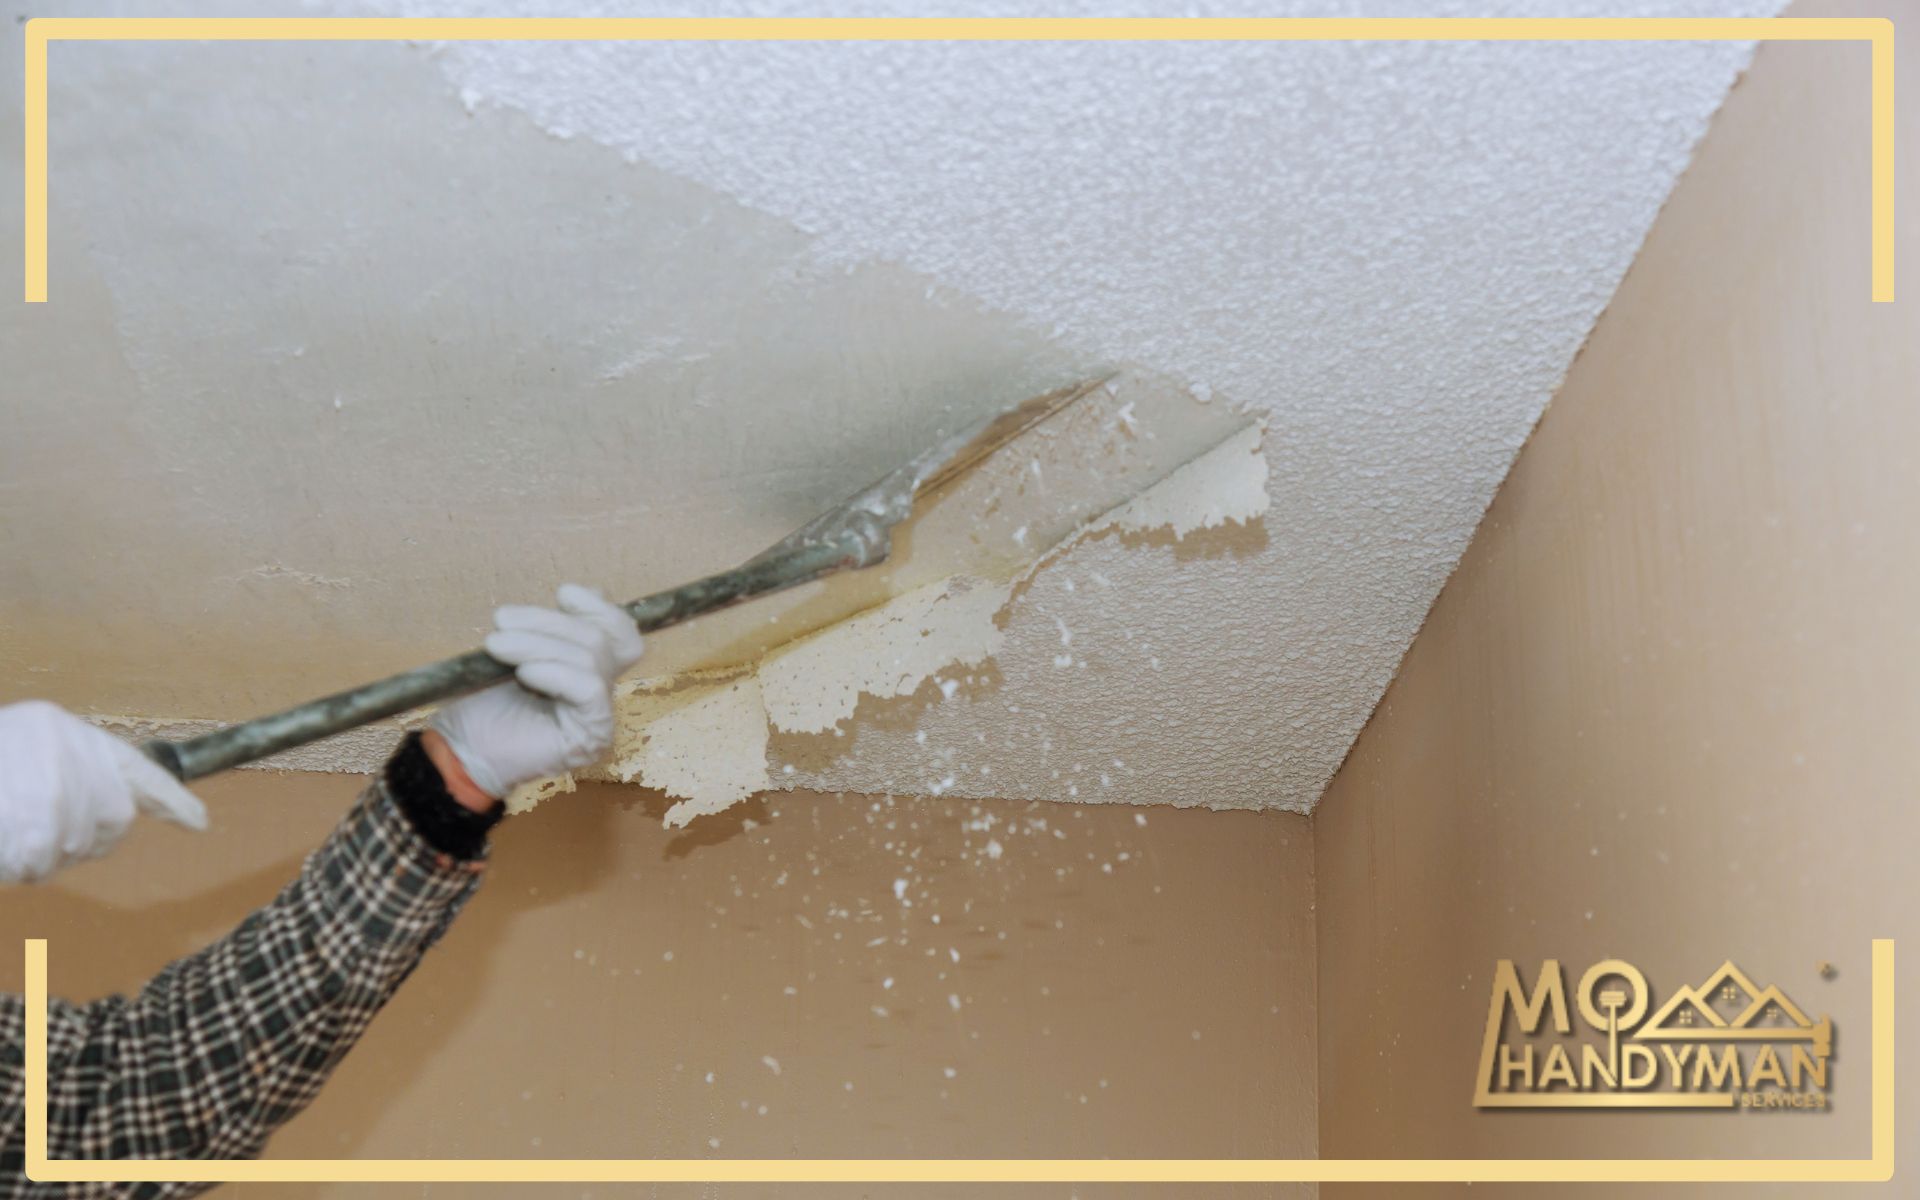
3. Fixing Holes: Repairing holes in a plaster ceiling follows a similar approach. Remove any loose plaster around the hole. Apply a piece of mesh tape over the hole to provide support for the filler. Then, fill the hole with plaster compound, smooth it out, and let it dry before sanding.
4. Repairing Water Damage: For repairing water-damaged plaster ceilings, first ensure the source of the water leak is fixed. Remove any damaged plaster. Apply a stabilizing primer to the affected area. Then, fill with a suitable plaster compound. After drying, sand it smooth.
5. Sagging Ceiling Fix: Sagging ceilings require reattaching the plaster to the lath. This might involve drilling holes through the plaster to inject adhesive, then clamping the plaster back onto the lath until the adhesive sets.
6. Final Touches: Finish with a primer and paint to match the rest of the ceiling. This not only conceals repairs but also protects the plaster.
Tackling Water Damage in Plaster Ceilings
Repairing water-damaged plaster ceilings is a critical task that requires immediate attention. Ignoring it can lead to structural damage and mold issues. Here’s how to effectively tackle this problem:
1. Identify the Water Source: First and foremost, identify and fix the source of the water leak. This could be from a leaking roof, plumbing issues, or condensation buildup. Ensuring the leak is repaired is crucial before any restoration work begins.
2. Assess the Damage: Examine the extent of the water damage. If the plaster is sagging or severely damaged, it may need to be removed and replaced. Minor water damage might only require drying out and then patching.
3. Remove Damaged Plaster: Carefully remove any damaged or loose plaster. This might involve cutting out the affected area to ensure a stable surface for the repair.
4. Dry Out the Area: It’s essential to thoroughly dry out the affected area before proceeding with repairs. Use fans or dehumidifiers to remove moisture from the room and prevent mold growth.
5. Apply a Stabilizing Primer: Once dry, apply a stabilizing primer to the affected area. This helps to seal any remaining moisture and provides a good base for the repair materials.
6. Repair with Plaster Compound: Fill the repaired area with a plaster repair compound or a mixture suitable for the depth and size of the damage. Apply in layers, allowing each layer to dry before applying the next.
7. Sand and Finish: After the repair material has fully dried, sand the area smooth. Finally, prime and paint the ceiling to match the existing finish.
Repairing a water-damaged plaster ceiling can restore the structural integrity and aesthetic appeal of the room. For more detailed guidance on repairing plaster ceilings, visiting resources like Amazon’s guide on plaster ceiling repair can provide valuable insights.
Fixing a Sagging Plaster Ceiling: A Detailed Approach
Confronting a sagging plaster ceiling can indeed be daunting. However, with a systematic approach, restoring it to its original state is within reach. Below are steps to address this challenge effectively.
1. Stabilize the Area: Initially, secure the area around the sagging plaster. This ensures safety and prevents further damage during repairs.
2. Assess the Extent: Next, assess the extent of the sagging. Determine whether the plaster is detachable from the lath or if it’s still partially attached but sagging.
3. Reattach Plaster to Lath: If the plaster is detached, use screws with washer heads to reattach it to the wooden lath. This step requires precision to avoid further damage.
4. Inject Adhesive for Reinforcement: Subsequently, for areas where the plaster remains attached but sags, consider injecting a specially formulated adhesive to re-bind the plaster to the lath. This method requires drilling holes into the plaster, injecting the adhesive, and then clamping the plaster until the adhesive sets.
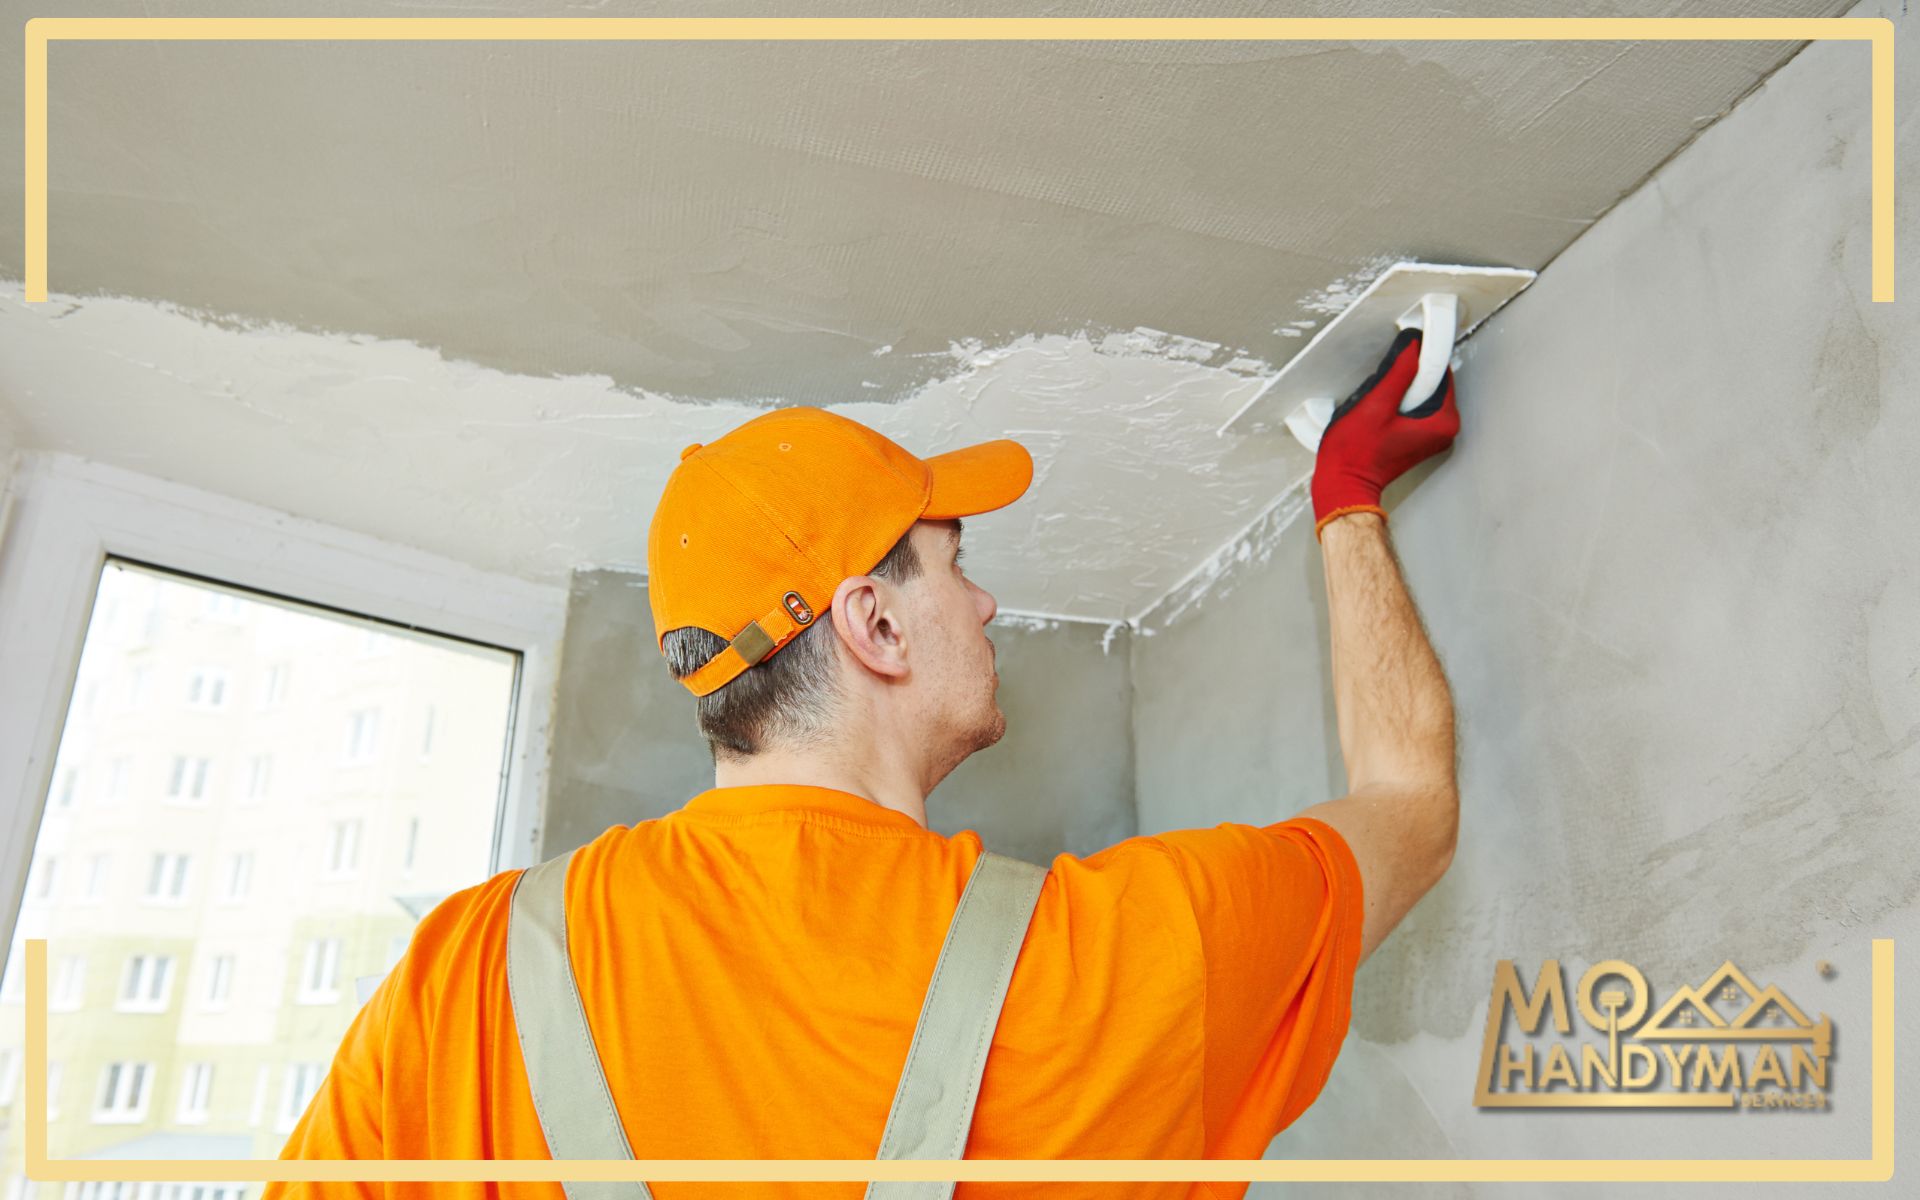
5. Apply a Skim Coat: Once the plaster is securely reattached, apply a skim coat of plaster over the repaired area. This ensures a smooth and uniform surface.
6. Sand and Finish: After the skim coat dries, sand the area to achieve a smooth finish. Finally, apply primer and paint to blend the repair with the rest of the ceiling.
7. Monitor and Maintain: Lastly, monitor the repaired area for any signs of recurring issues. Regular maintenance can prevent future sagging.
For further assistance and expert advice, remember that professional services are just a click away, as seen in MO Handyman’s residential services, offering a wealth of experience in plaster ceiling repairs and restorations.
Restoring Beauty and Strength to Your Plaster Ceiling
In wrapping up this guide on reviving your plaster ceiling, it’s clear that with the right approach, tools, and techniques, restoring the beauty and integrity of your plaster ceilings is not only possible but can also be a rewarding project. From addressing minor cracks and holes to tackling more significant issues like water damage and sagging, each step taken contributes to the longevity and aesthetic appeal of your home.
Remember, the key to a successful plaster ceiling restoration lies in careful planning, patience, and attention to detail. Identifying the problem, choosing the correct repair method, and executing it with precision can bring about lasting results. Whether you choose to embark on this journey as a DIY project or decide to call in the professionals, knowing what’s involved in the repair process empowers you to make informed decisions.
For those who prefer professional assistance, don’t hesitate to reach out to experts who specialize in plaster repairs. With their knowledge and experience, they can ensure your ceiling is not only repaired but restored to its original glory. Websites like MO Handyman’s residential services offer a range of services tailored to meet your plaster ceiling repair needs.
As we conclude, let’s reiterate the importance of maintenance. Regularly inspecting your ceiling for signs of damage and addressing issues promptly can prevent minor problems from becoming major ones. This proactive approach ensures the beauty and integrity of your plaster ceilings for years to come.
Restoring a plaster ceiling is more than just a repair; it’s a preservation of history, an enhancement of your home’s aesthetic, and a testament to craftsmanship. With the insights provided in this guide, you’re well-equipped to embark on the journey of plaster ceiling restoration, ensuring your home remains as beautiful and sturdy as the day it was built.

