Elevate Your Interiors: Starting with Plaster
When you think about transforming your home, look up—the ceiling is your blank canvas. Mastering the art of ceiling plastering breathes new life into any room, from sleek smooth finishes to intricate textures.
Whether you’re a beginner or a seasoned DIY enthusiast, this guide walks you through various plastering techniques to enhance your space’s look and feel. And if you’re leaning towards professional help, MO Handyman’s residential services are just a click away, ready to bring your vision to life.
This blog will explore everything from alternative plastering methods to selecting the right plaster for your ceiling, alongside preparation tips and the correct order to plaster walls and ceilings. Designed to guide you towards achieving that perfect finish, we’ll ensure you have all the necessary information to kickstart your plastering project with confidence.
Now, let’s get into the essentials of plastering, setting the stage for your project’s success.
Preparing Your Ceiling for Plastering
Before you dive into plastering, proper preparation is key. It ensures the plaster adheres well and lasts longer. Here’s a simple guide to get your ceiling ready for a makeover:
1. Clear the Room: Start by removing furniture or covering it with dust sheets. It keeps everything clean and makes moving around easier.
2. Remove Old Plaster: If the ceiling has damaged or loose plaster, take it off. Use a scraper for small areas. For larger sections, a hammer and chisel might be necessary.
3. Clean the Surface: Dust and debris can prevent plaster from sticking. Wipe the ceiling with a damp cloth to get a clean surface.
4. Apply a Primer: A bonding primer helps the new plaster adhere better. Apply it evenly across the ceiling.
5. Fix Any Cracks: Use mesh tape over cracks to prevent them from reappearing. Plaster over the tape smoothly.
These steps create a solid foundation for any plastering work. Whether you’re aiming for a smooth plaster finish or experimenting with textures, preparation ensures your work not only looks great but also stands the test of time.
Next, we’ll explore the types of plaster you can use and their unique benefits. Ready to learn more about choosing the right plaster for your ceiling?
Choosing the Right Plaster for Your Ceiling
Now, let’s pivot to selecting the ideal plaster for your ceiling project. The choice of plaster impacts not only the application process but also the finish and durability of your work.
Firstly, traditional gypsum plaster offers a smooth finish and is perfect for interior ceilings. It’s versatile and sets quickly, making it a popular choice among DIY enthusiasts and professionals alike.
Moreover, for those desiring a more textured or luxurious finish, Venetian plaster becomes an excellent option. This plaster, known for its marble-like appearance, adds depth and elegance to any room.
Additionally, lime plaster could be the go-to for historic home enthusiasts. It’s breathable, making it suitable for older buildings that need to manage moisture effectively.
On the other hand, for areas prone to moisture, such as bathrooms, consider using a moisture-resistant plaster. This type helps prevent mold and mildew growth, ensuring a long-lasting finish even in challenging environments.
Importantly, always consider the specific needs of your space and the look you aim to achieve when selecting your plaster. Each type has its unique properties and application techniques, which can significantly affect the project’s outcome.
Next, we’ll delve into the preparation process for plastering. A well-prepared surface is crucial for a flawless finish, so stay tuned for insights on how to best prep your ceiling for plastering.
Prepping Your Ceiling: The Essential Steps
Initially, identifying any issues with your ceiling is critical. Look for signs of damage or areas that need special attention. This early step can save you time and ensure a smoother application process.
Subsequently, securing the room for the task at hand is vital. Lay down drop cloths and remove or cover furniture to protect your space from dust and plaster splashes.
Next up, addressing any existing cracks or damage is a must. Use a quality filler for small cracks to ensure a smooth base for your plaster. For larger issues, you might need to apply a patching compound or even consider professional repairs to ensure a stable surface.
Furthermore, cleaning the ceiling thoroughly cannot be overlooked. Any dust or grease can hinder plaster adherence, so a clean surface is paramount for a successful plaster application.
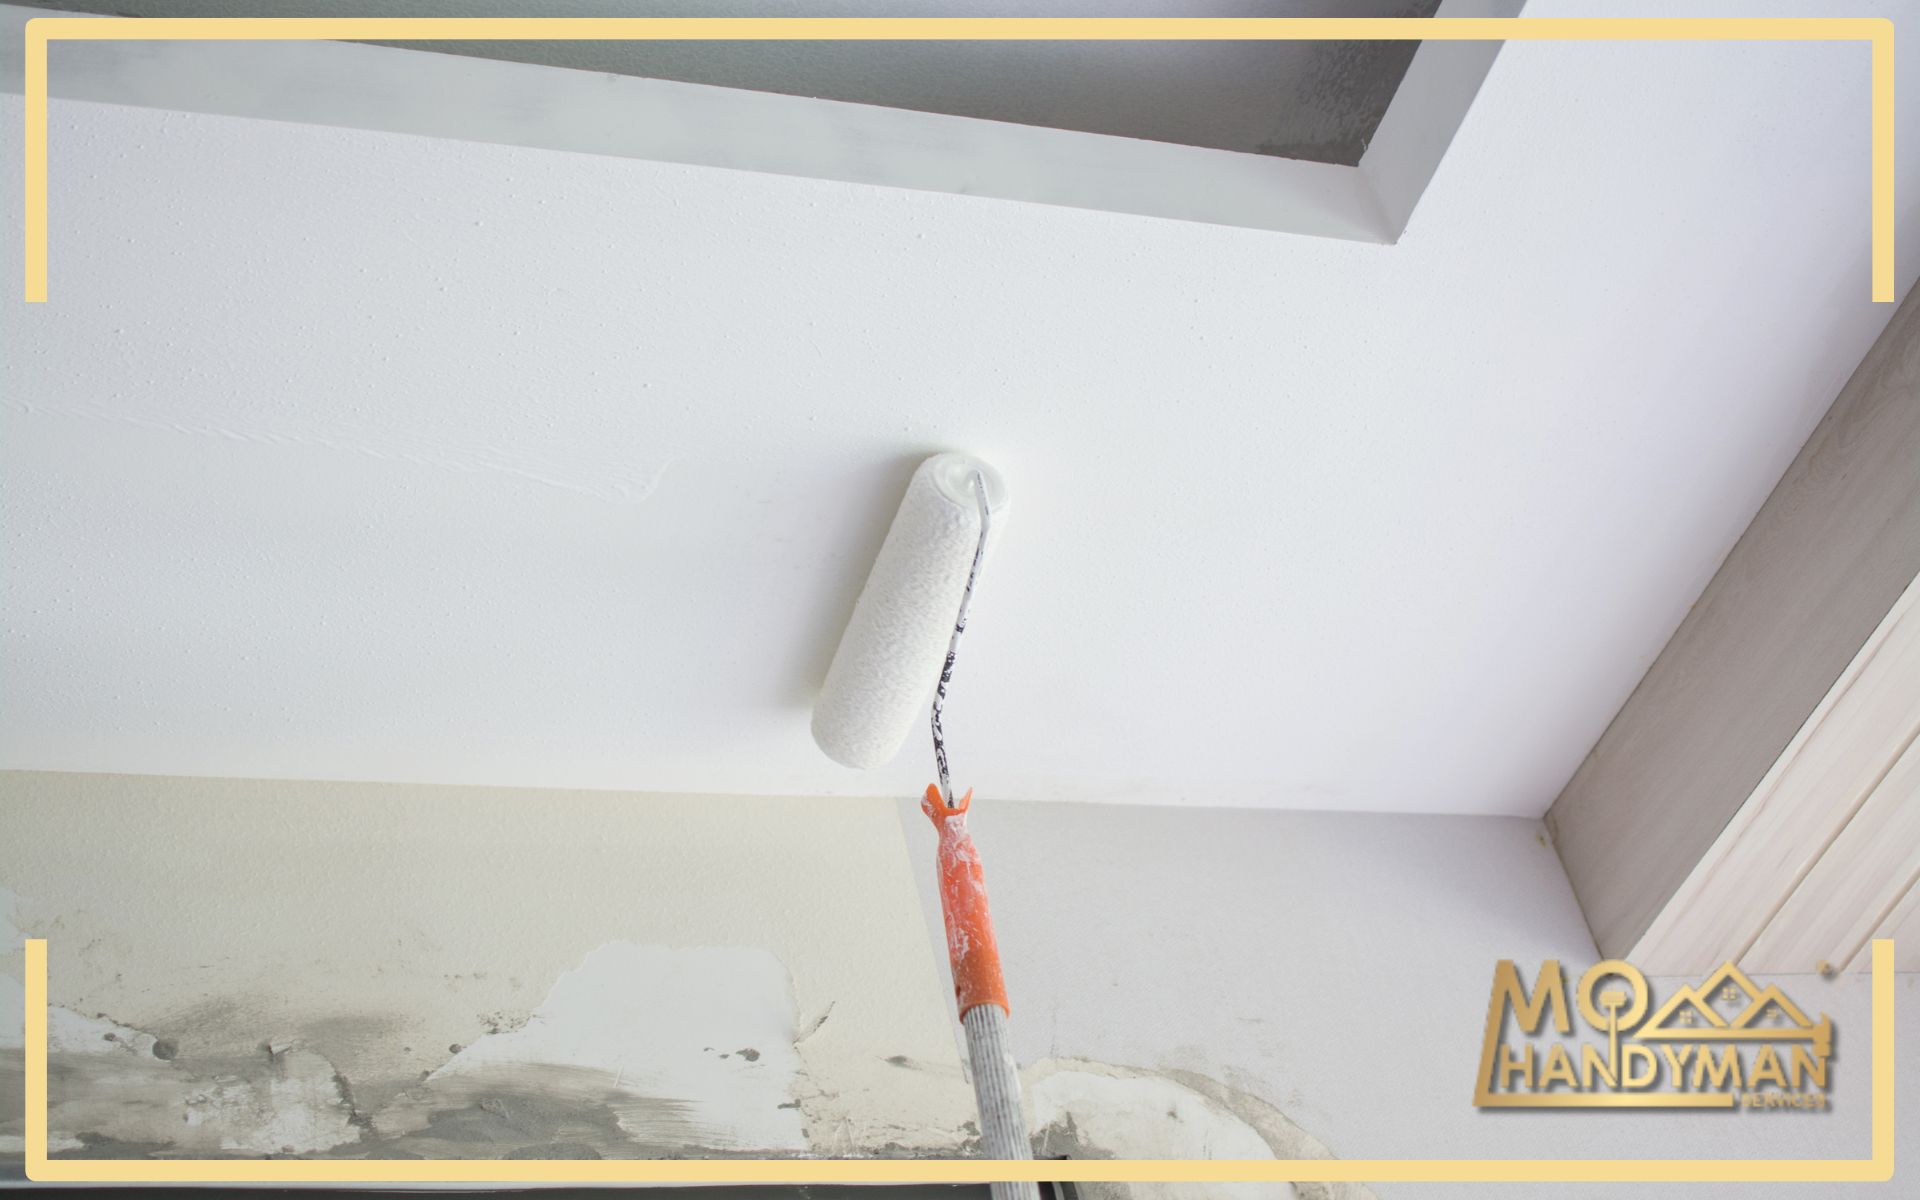
Equally important, applying a primer specifically designed for plastering projects enhances the plaster’s grip on the ceiling. This step ensures a strong bond and a more durable finish.
Lastly, marking out your work area helps keep your plastering neat and consistent. Use painter’s tape to define edges and corners, aiding in a clean, professional look.
With these steps in mind, you’re well-prepared to start the plastering process. A carefully prepped ceiling is the foundation of a beautiful, long-lasting plaster finish. Here is a video DIY in case you are interested to know how it is done step by step: Watch Now!
Mastering Ceiling Plastering Techniques for a Flawless Finish
To begin with, understanding the basics of plastering is crucial. Familiarize yourself with the tools and materials you’ll need. This knowledge lays the groundwork for a successful project.
Moving forward, mixing your plaster to the right consistency is key. It should be smooth and pliable, neither too thick nor too runny. This ensures ease of application and a uniform finish.
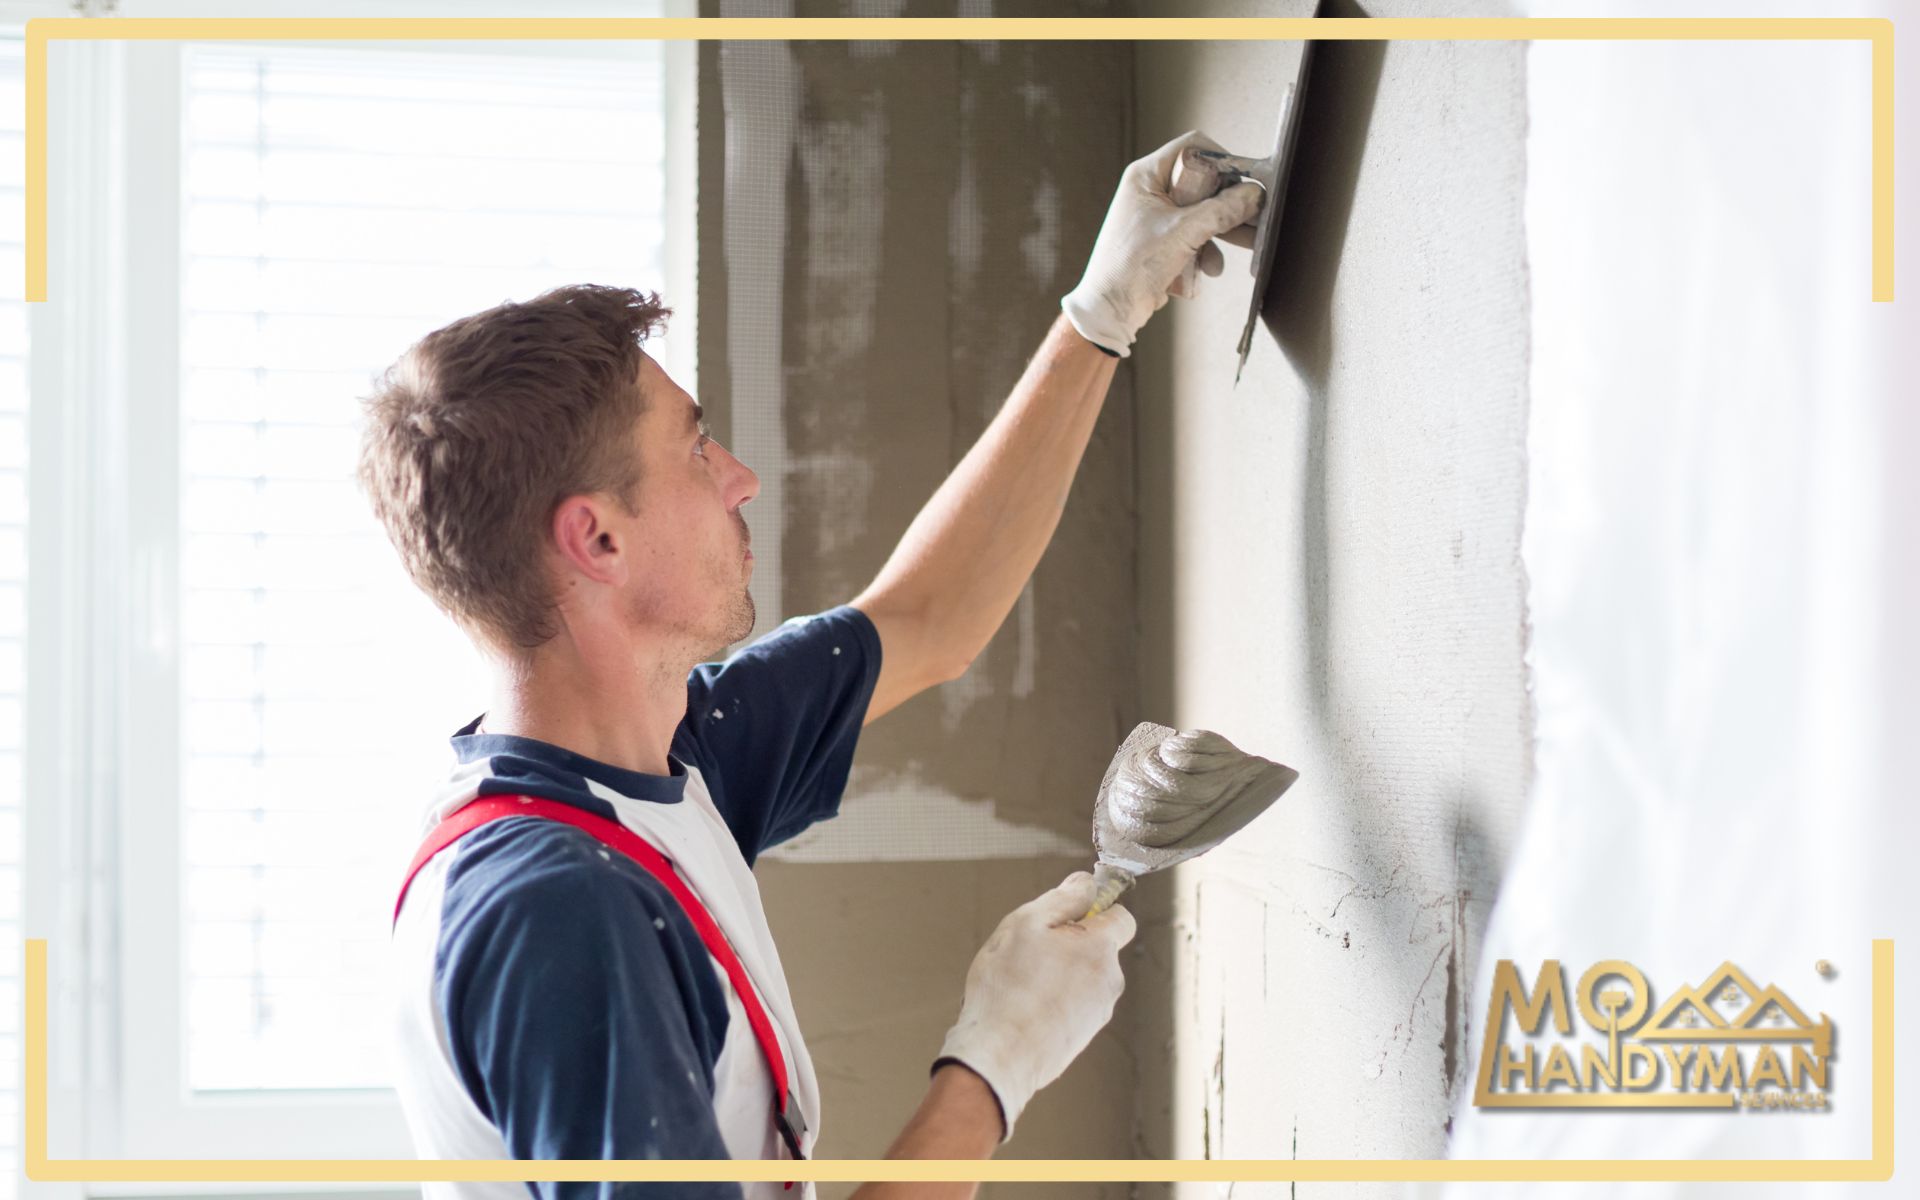
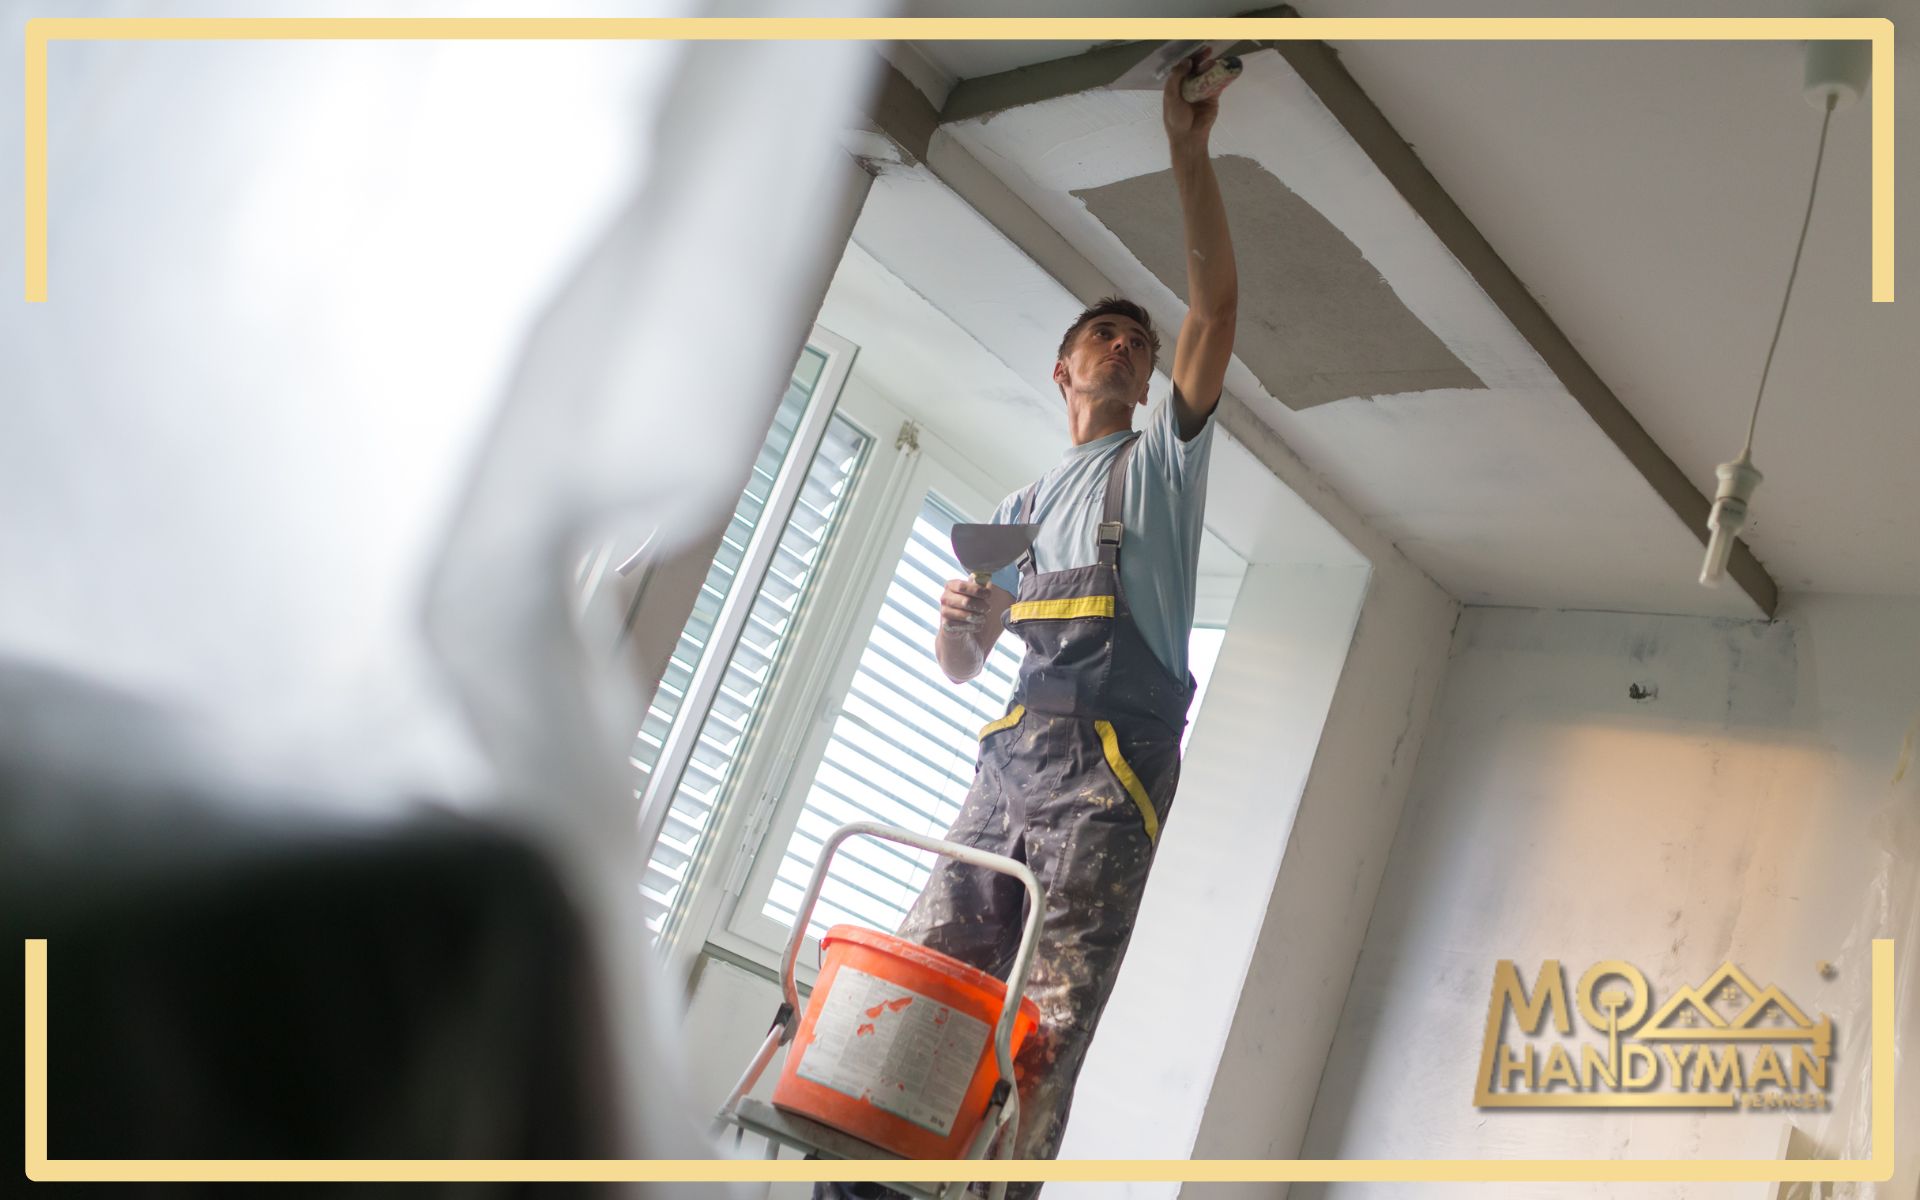
Then, applying the first coat, often called the scratch coat, is your starting point. Use broad, even strokes to cover the ceiling, ensuring you work in manageable sections to maintain control over the texture.
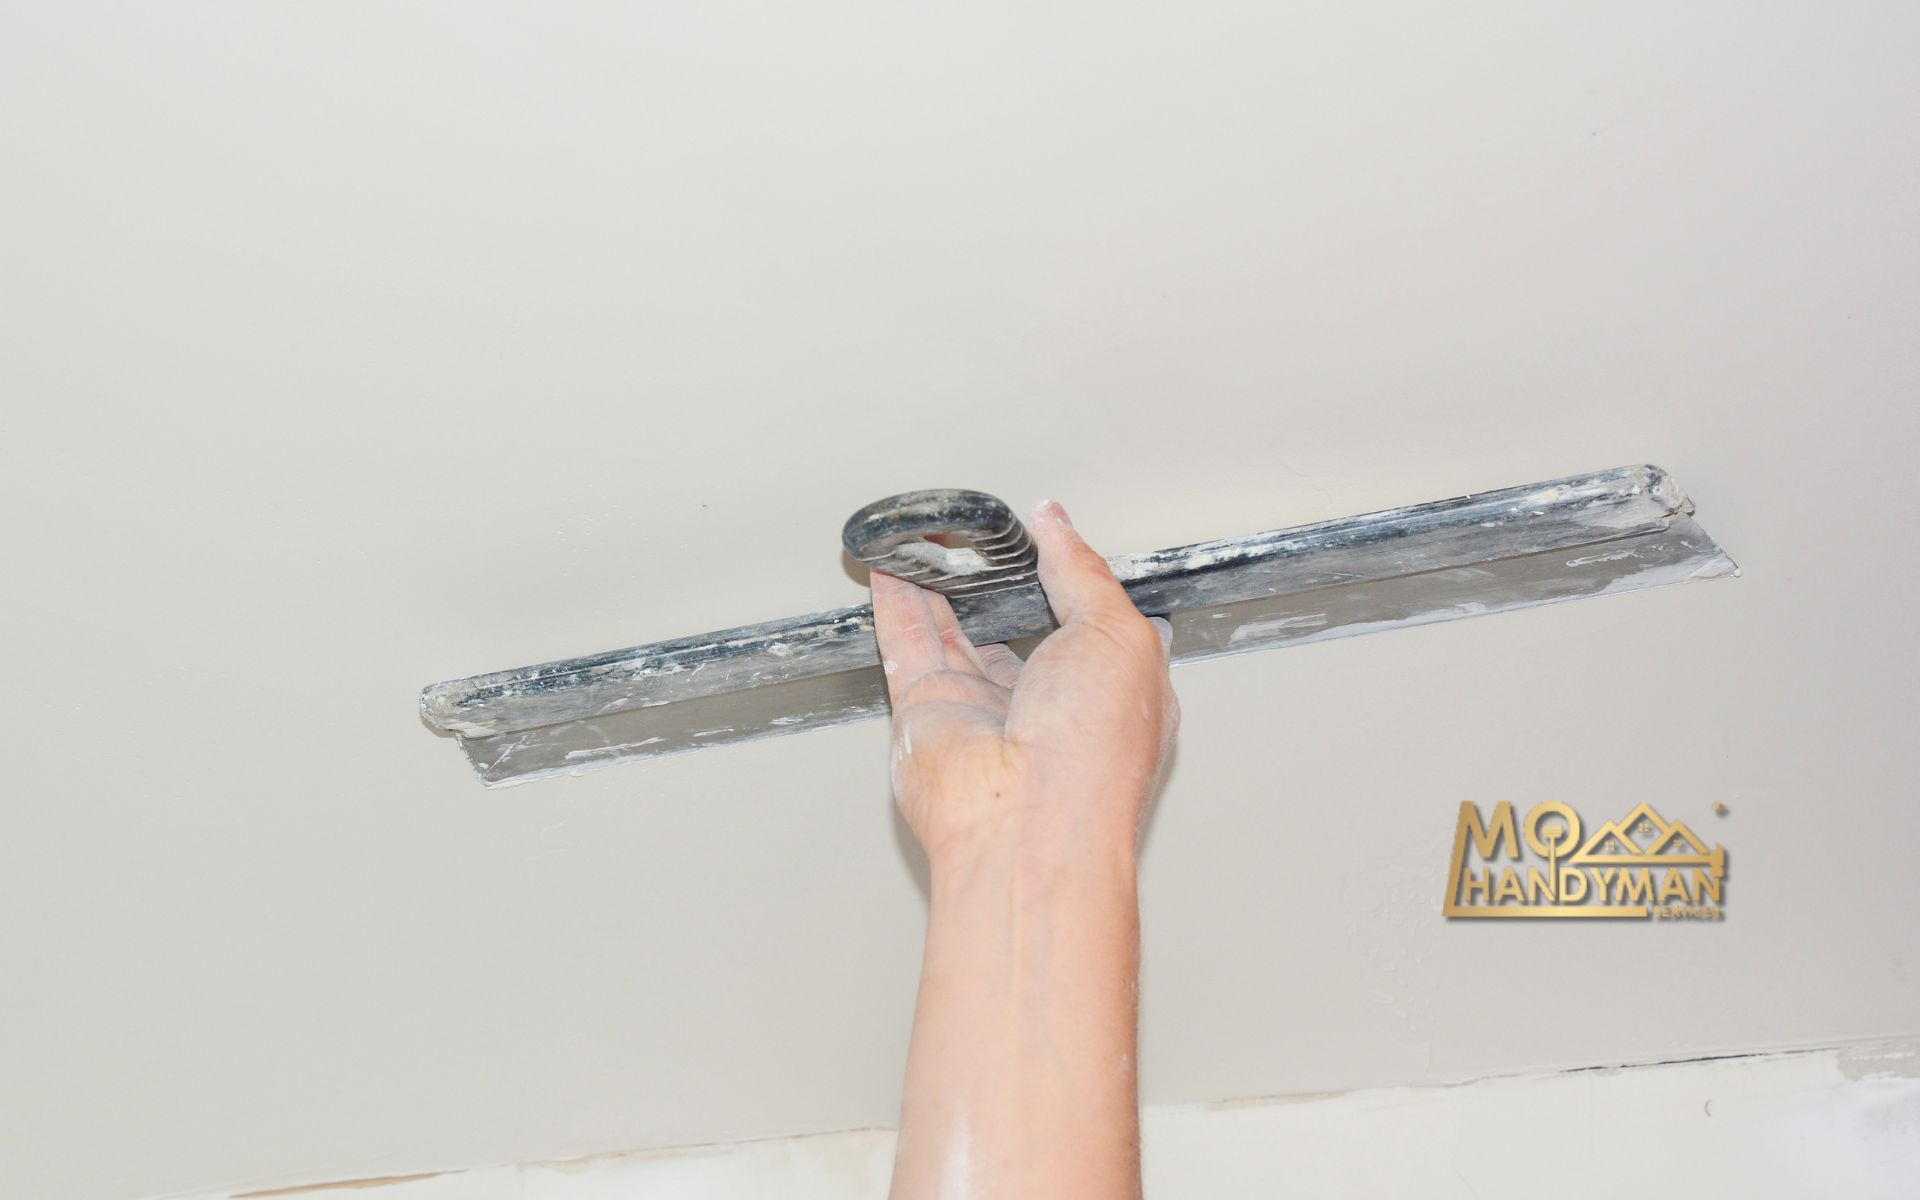
Moreover, as the plaster starts to set, it’s time for smoothing and leveling. A clean, damp sponge or trowel can help eliminate any imperfections, leaving a surface that’s ready for finishing touches.
Additionally, for those interested in decorative finishes like Venetian plaster or texturing, practice is paramount. These techniques require a bit more finesse, often building up layers to achieve the desired effect.
Finally, patience during the drying process cannot be overstressed. Allow the plaster to fully cure before sanding or painting. This patience pays off with a durable, beautiful ceiling that enhances your home’s overall aesthetic.
In conclusion, mastering ceiling plastering techniques takes time and practice, but the results can dramatically transform your space. Whether you’re aiming for a simple refresh or an elaborate decorative finish, the skills you develop will serve you well. Remember, MO Handyman’s residential services are always available to assist with your plastering projects, offering expertise to ensure a flawless finish.
With these techniques in your arsenal, you’re well-equipped to tackle any ceiling plastering project, elevating your interiors to new heights of beauty and refinement.

