Deck Sanding and Staining
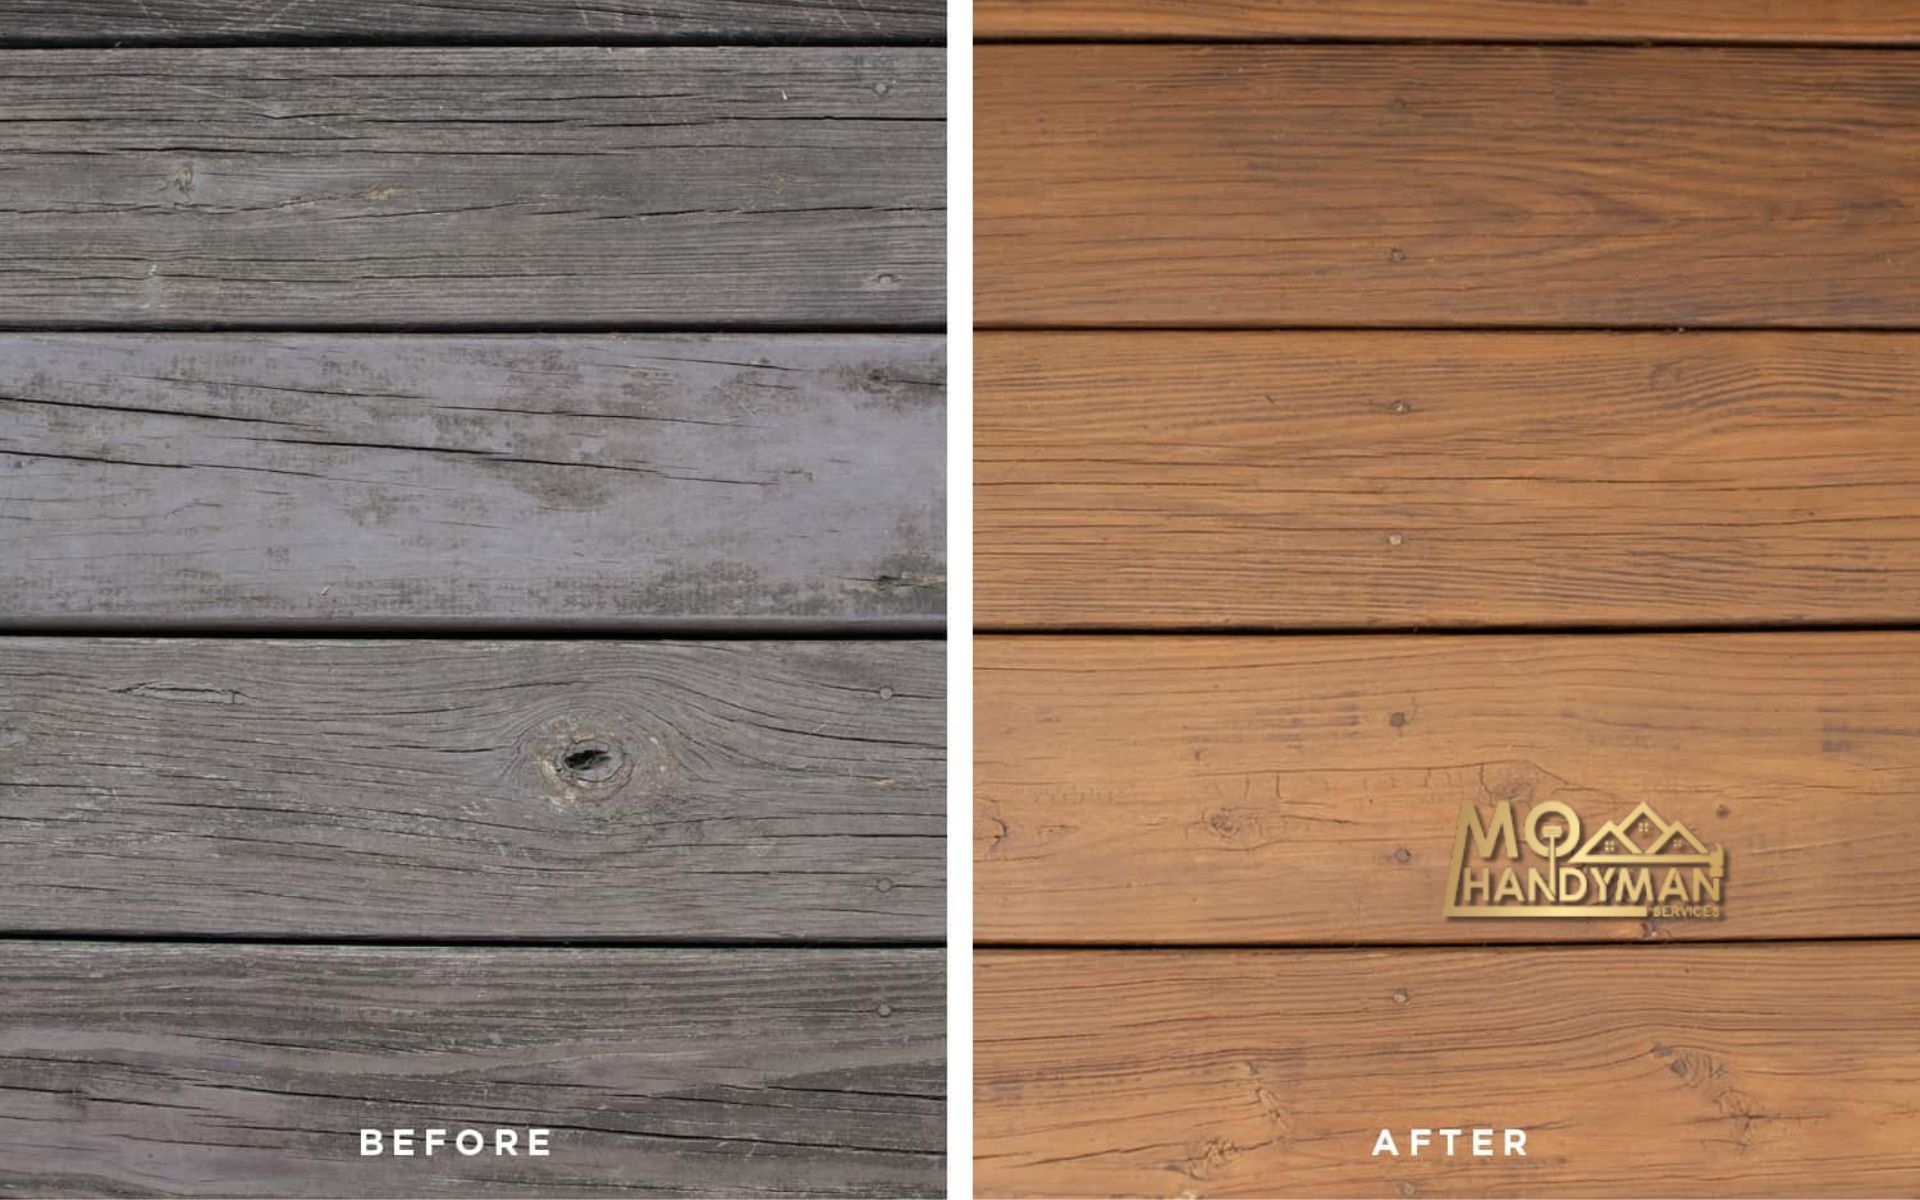
Embarking on a deck restoration project can transform your outdoor space. Sanding wood decks and applying the best deck stains not only enhance the beauty but also extend the life of your deck. This guide, your ultimate Deck Sanding and Staining Guide, will walk you through essential steps and deck restoration tips to achieve that flawless finish.
Firstly, it’s crucial to understand the importance of preparing your deck for staining. Proper preparation ensures the stain adheres well and lasts longer. Begin with a thorough inspection. Replace any damaged boards and fix loose nails. Cleaning the deck comes next. A clean surface is key to successful staining. For more extensive services, consider professionals like those at MO Handyman, who specialize in residential deck restoration and more.
Next, let’s address a common question: “Should you stain a deck immediately after sanding it?” The answer is no. After sanding, it’s best to wait for the wood to dry completely. This waiting period allows the pores to open, ensuring the stain penetrates deeply.
Sanding wood decks is not just about smoothing the surface. It’s about preparing the wood to receive the stain. This leads us to another frequent inquiry: “What grit sandpaper should you use to sand a deck?” Ideally, start with a medium grit, such as 60 or 80, for initial sanding. Finish with a finer grit, around 100 to 120, for a smooth surface.
In this guide, we’ll dive deeper into these steps, deck staining techniques, and choosing the right deck sanding tools. With the right approach, DIY deck refinishing becomes a manageable task that can significantly boost your deck’s appeal and longevity.
Preparing Your Deck for Staining
Proper preparation is the cornerstone of a successful deck staining project. This phase involves several crucial steps that ensure your deck is ready to accept the stain for a beautiful, long-lasting finish. Let’s explore the key aspects of preparing your deck for staining.
Firstly, cleaning is non-negotiable. Use a deck cleaner to remove dirt, mildew, and old stains. A clean surface allows the stain to adhere properly. After cleaning, let the deck dry thoroughly. This drying period is crucial for the wood to absorb the stain evenly.
Now, onto sanding. Many ask, “How much should I sand my deck before staining?” The goal is to remove the old finish and smooth out the surface without over-sanding. If your deck is new, a light sanding is sufficient. For older decks, sand more thoroughly to remove all remnants of the previous stain.
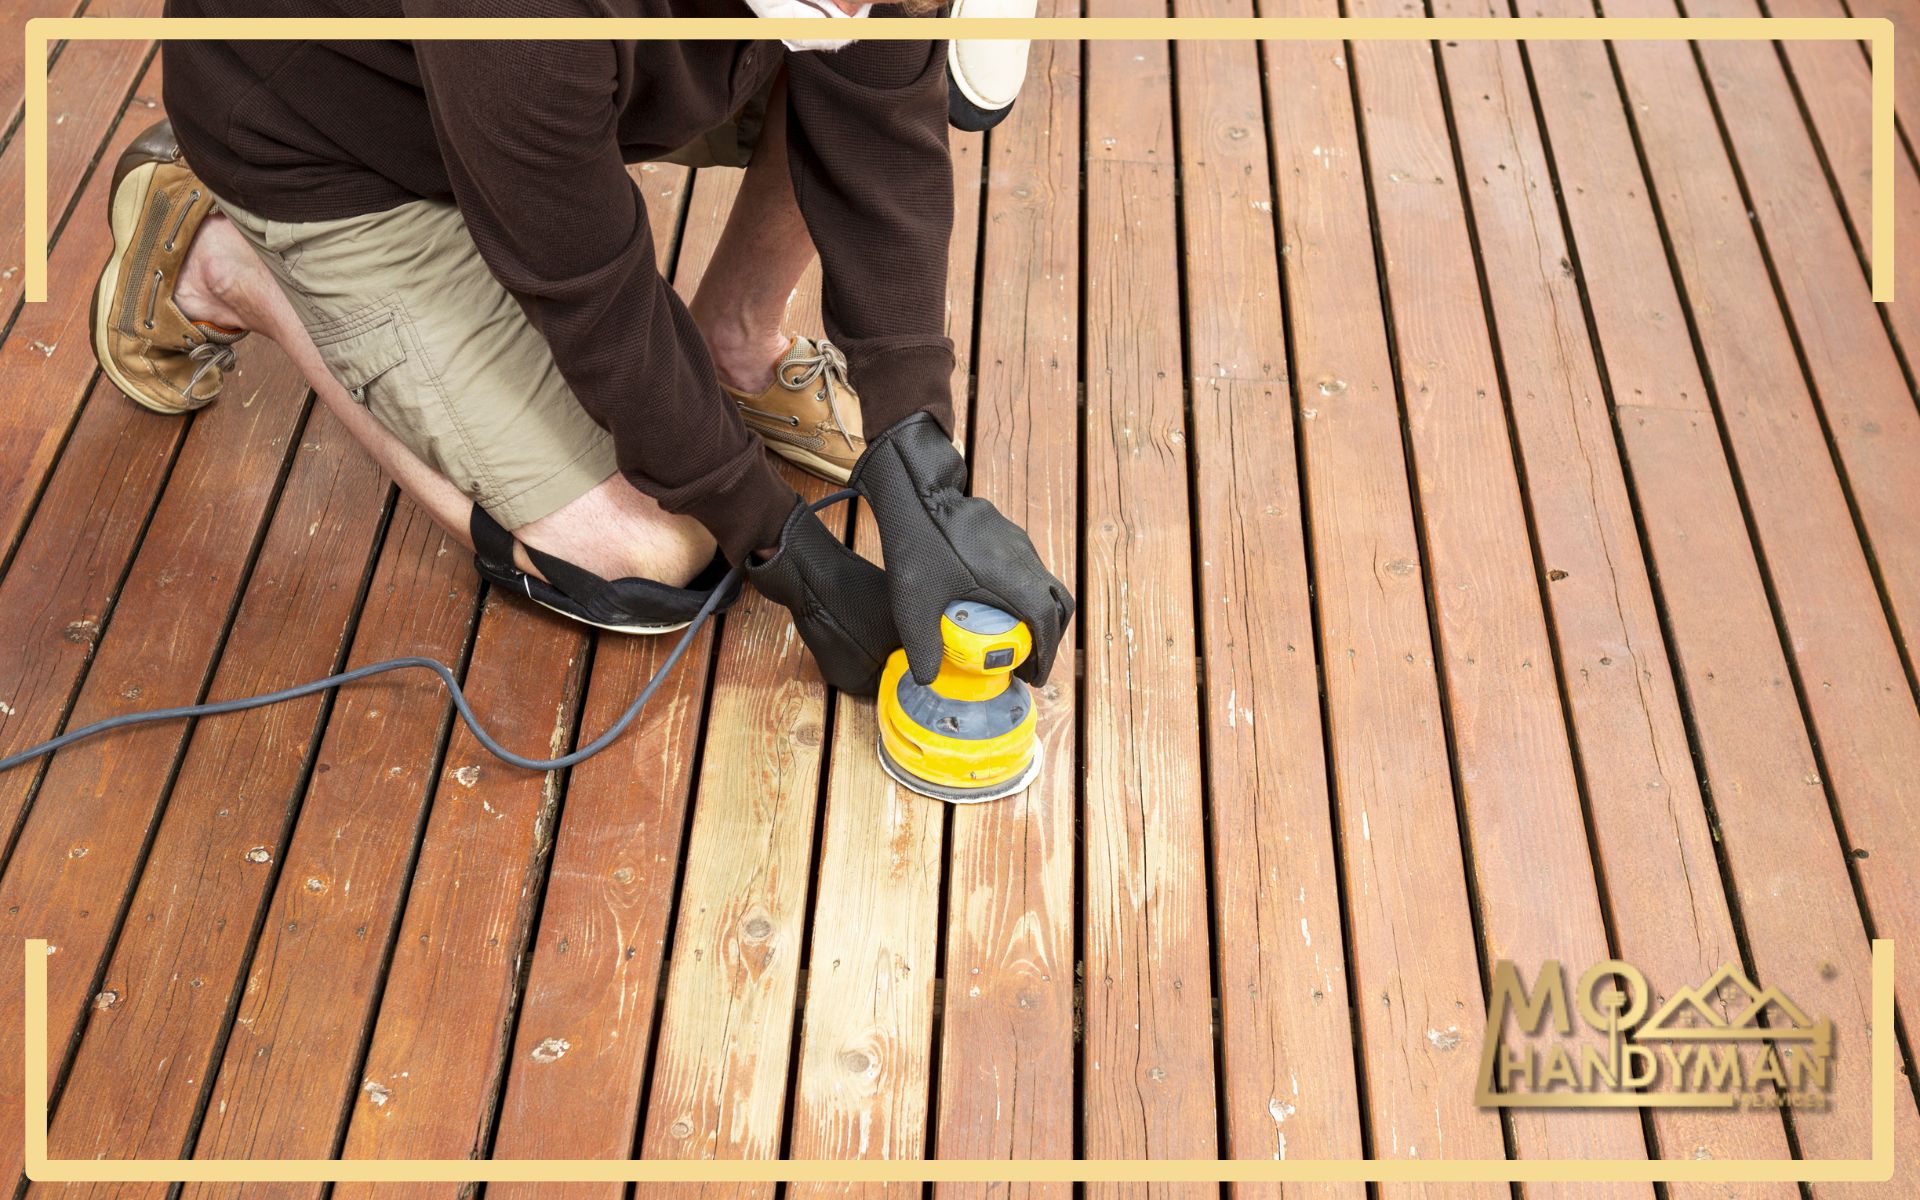
Choosing the right deck sanding tools is next. For large areas, a power sander saves time and effort. Hand sanding might be necessary for corners and tight spaces. The right tools make sanding efficient and effective.
Another common question is, “What is the fastest way to sand a deck?” Using a power sander with the appropriate grit sandpaper is the fastest method. Begin with a coarser grit for rough areas and finish with a finer grit for a smooth surface.
Lastly, addressing any repairs is essential. Fix loose boards and replace damaged ones. Ensuring your deck is in good condition before staining will result in a smoother, more durable finish.
By meticulously preparing your deck, you set the stage for a stunning and resilient outcome. This preparation, from cleaning to sanding, is the foundation of a successful deck staining project.
Selecting the Best Deck Stains and Techniques
Choosing the right stain and applying it correctly are pivotal for achieving a flawless finish on your deck. This section will guide you through selecting the best deck stains and employing effective deck staining techniques.
First, consider the type of stain. Options include clear sealers, toners, semi-transparent, and solid stains. Clear sealers and toners offer a natural look, while semi-transparent and solid stains provide more color and UV protection. Your choice should align with your desired aesthetic and maintenance level.
When selecting deck stain colors, consider your home’s exterior and the natural surroundings. Darker colors may absorb more heat, while lighter colors can brighten up your deck. Experiment with samples before making a final decision.
Now, onto the application techniques. For an even application, use a brush, roller, or sprayer. Brushes offer more control, especially around edges and in tight spaces. Rollers cover large areas quickly, and sprayers are efficient for very large decks. Regardless of the method, always follow the grain of the wood.
Before starting, check the weather. Ideal conditions are mild temperatures and no rain forecasted for at least 24 hours. This ensures the stain dries properly.
Answering a crucial question, “Should you stain a deck immediately after sanding it?” allows for better planning. As mentioned, it’s best to wait until the deck is thoroughly dry. This patience pays off in the long run with a more even and durable finish.
For more detailed guidance on the time it takes to sand and stain a deck, refer to Deck Restoration Co. They offer expert advice and insights into deck restoration, helping you achieve professional results.
By carefully selecting your stain and applying it using the right techniques, you can ensure your deck not only looks stunning but also stands up to the elements for years to come.
Maintaining Your Deck After Staining
After investing time and effort into sanding and staining your deck, maintaining its beauty and integrity is crucial. This section provides essential wood deck maintenance tips to keep your deck looking its best.
First, regular cleaning is vital. Sweep your deck regularly to remove debris and dirt. Annually, use a mild deck cleaner to remove grime and buildup. This keeps the wood healthy and prevents mold and mildew growth.
Sealants play a critical role in deck maintenance. “Should I apply sealant after staining?” Yes, applying a sealant after staining protects the wood from moisture and UV damage. Choose a sealant compatible with your stain for the best protection.
Inspect your deck periodically for signs of wear or damage. Look for loose boards, popped nails, and signs of rot. Early repairs prevent more significant issues down the line. For comprehensive deck care, consider professional services like those offered at MO Handyman, who specialize in deck maintenance and repair.
Another key aspect is to re-stain and re-seal your deck as needed. How often depends on the stain type, your climate, and deck usage. Typically, re-staining every two to three years keeps your deck looking fresh and well-protected.
Lastly, consider the elements. Use furniture pads to prevent scratches and move planters to avoid moisture buildup. In winter, gently remove snow to avoid damaging the wood.
Maintaining your deck requires attention and care, but the reward is a beautiful, durable outdoor space. By following these maintenance tips, including regular cleaning, applying sealants, and timely repairs, your deck will remain a cherished part of your home for years to come.
Deck Sanding Tools and Wood Deck Maintenance
For a DIY deck refinishing project, having the right deck sanding tools is crucial. These tools not only make the job easier but also ensure a smooth, ready-to-stain surface. Moreover, regular wood deck maintenance is essential to preserve the beauty and longevity of your deck.
When it comes to sanding your deck, a variety of tools can help. For large, flat areas, a floor sander or a belt sander is highly efficient. Orbital sanders are great for finer sanding and reaching areas where larger sanders can’t. For tight spaces and corners, hand sanding or a detail sander works best. Always have a selection of sandpaper grits. Starting with a coarser grit for rough areas and moving to a finer grit for the final sanding is the way to go.
After sanding and staining, maintenance is key to keeping your deck looking its best. Regular cleaning to remove dirt, leaves, and debris prevents mold and mildew growth. Inspect your deck annually for loose boards, protruding nails, or other issues. Addressing these promptly can prevent further damage.
Sealants play a pivotal role in wood deck maintenance. They protect the wood from moisture, UV rays, and weathering. Choosing the right sealant for decks ensures your deck remains protected year-round. Reapply according to the product’s instructions, usually every 2-3 years.
For comprehensive guides on maintaining your deck, consider resources like MO Handyman’s residential services. They offer valuable insights and services for deck maintenance and repair, ensuring your deck stays in top condition.
By investing in the right tools and dedicating time to maintenance, you can enjoy a beautiful, durable deck for many years. Regular upkeep not only enhances your outdoor living space but also adds value to your home.


