Drywall Perfection
Creating seamless walls is about more than looks. It’s about making spaces feel whole. Mastering drywall repair and installation is key for homeowners and DIY fans. This guide focuses on seamless drywall finishing. It’s crucial for the beauty and durability of your home. We’ll explore everything from drywall repair techniques to a full drywall installation guide.
Starting a drywall project? It’s essential to know the basics. This includes choosing the right tools and methods. Achieving seamless finishing means fixing imperfections and preventing future issues. It’s about careful work from the start.
For those new to this, having the right information is crucial. You’ll need the correct tools, materials, and techniques. Want to transform your space? Consider exploring MoHandyman’s residential services. They offer expert guidance for home improvement projects.
With patience and attention to detail, creating seamless walls is possible. This approach sets the foundation for a beautiful and lasting home. Let’s dive into the world of drywall repair and installation. Our goal? To guide you to success in seamless drywall finishing.
Essential Tools and Techniques for Drywall Repair
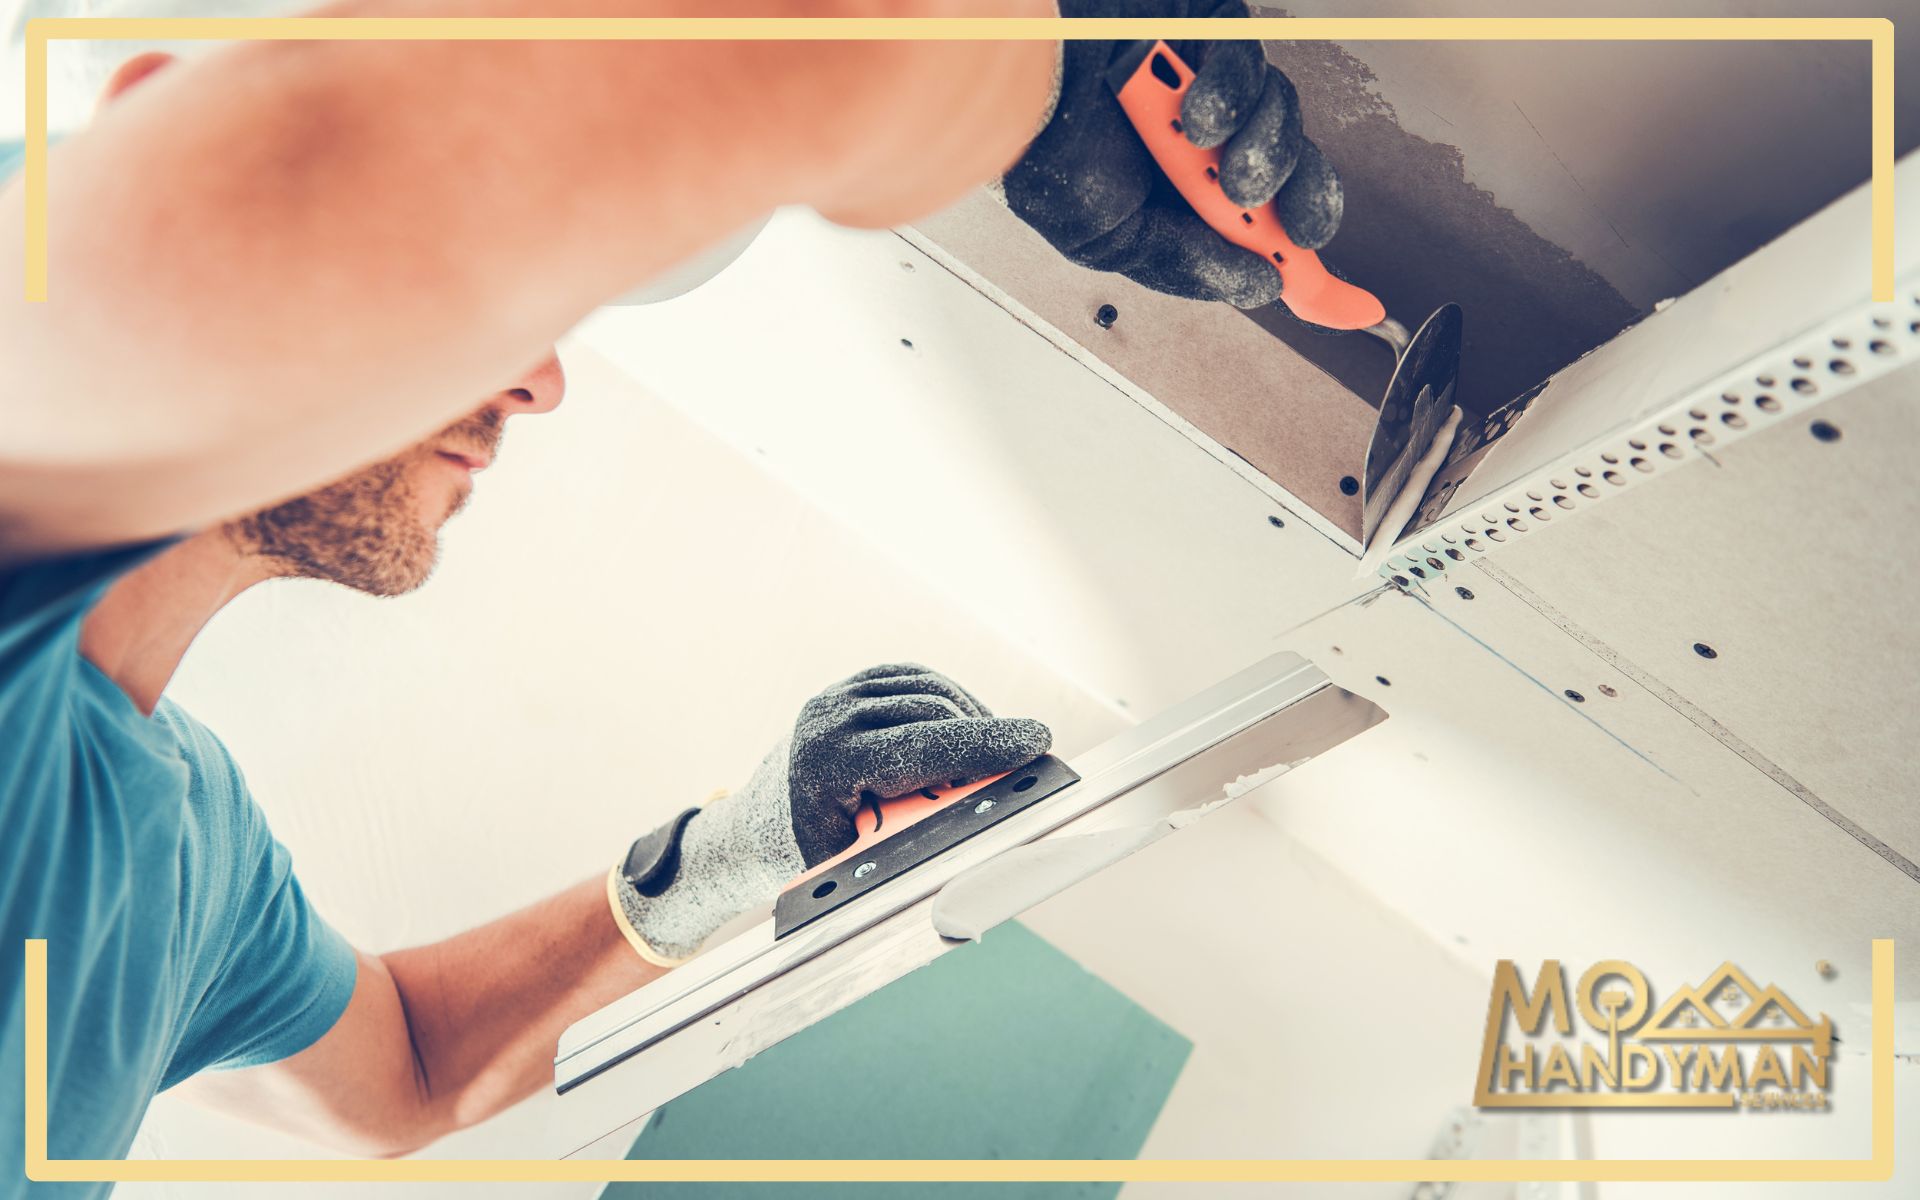
Before diving into repairs, gathering the right tools is essential. You’ll need joint compound, drywall tape, a putty knife, sandpaper, and a drywall saw. Also, safety gear like goggles and masks is vital. With these in hand, you’re set to tackle most drywall issues.
Now, how do you seamlessly patch drywall? First, measure and cut a piece of drywall to fit the hole. Apply joint compound around the edges of the hole. Press the new piece into place. Cover the seams with drywall tape. Then, apply more compound over the tape. Sand it smooth once dry.
For fixing noticeable drywall seams, the approach is similar. Apply joint compound over the seam. Press drywall tape into the compound. Add another compound layer. Let it dry. Sand it smooth. This method hides seams effectively, making walls look seamless.
Drywall texture methods can hide minor imperfections too. Techniques vary from simple brushed textures to more complex sprayed ones. Choosing the right texture can enhance the seamless appearance of your walls.
DIY drywall installation might seem daunting. However, with detailed guides and patience, it’s achievable. Measure carefully, cut precisely, and ensure seams are tight. Use screws to secure the drywall to studs. Then, follow the mudding and taping steps outlined above.
For those seeking professional help, exploring professional drywall services ensures top-notch results. Experts can handle complex projects, from installation to intricate repairs.
In this section, we’ve covered the basics of drywall repair and installation. Next, we’ll delve into detailed step-by-step repair processes, ensuring you have the knowledge to achieve smooth drywall repairs.
Remember, practice makes perfect. So, don’t hesitate to try these techniques on small projects as you build your confidence.
Step-by-Step Guide to Seamless Drywall Repair
Starting with drywall repair, a systematic approach ensures the best outcomes. Here’s a detailed, step-by-step method to tackle this task efficiently.
Firstly, identify the damage type. Small holes require different treatment than larger ones. For tiny punctures, spackling paste suffices. Apply it smoothly, let it dry, and then sand.
Secondly, for larger holes, cut a drywall piece to fit. Secure it with screws to the surrounding studs. This provides a stable base for the patch.
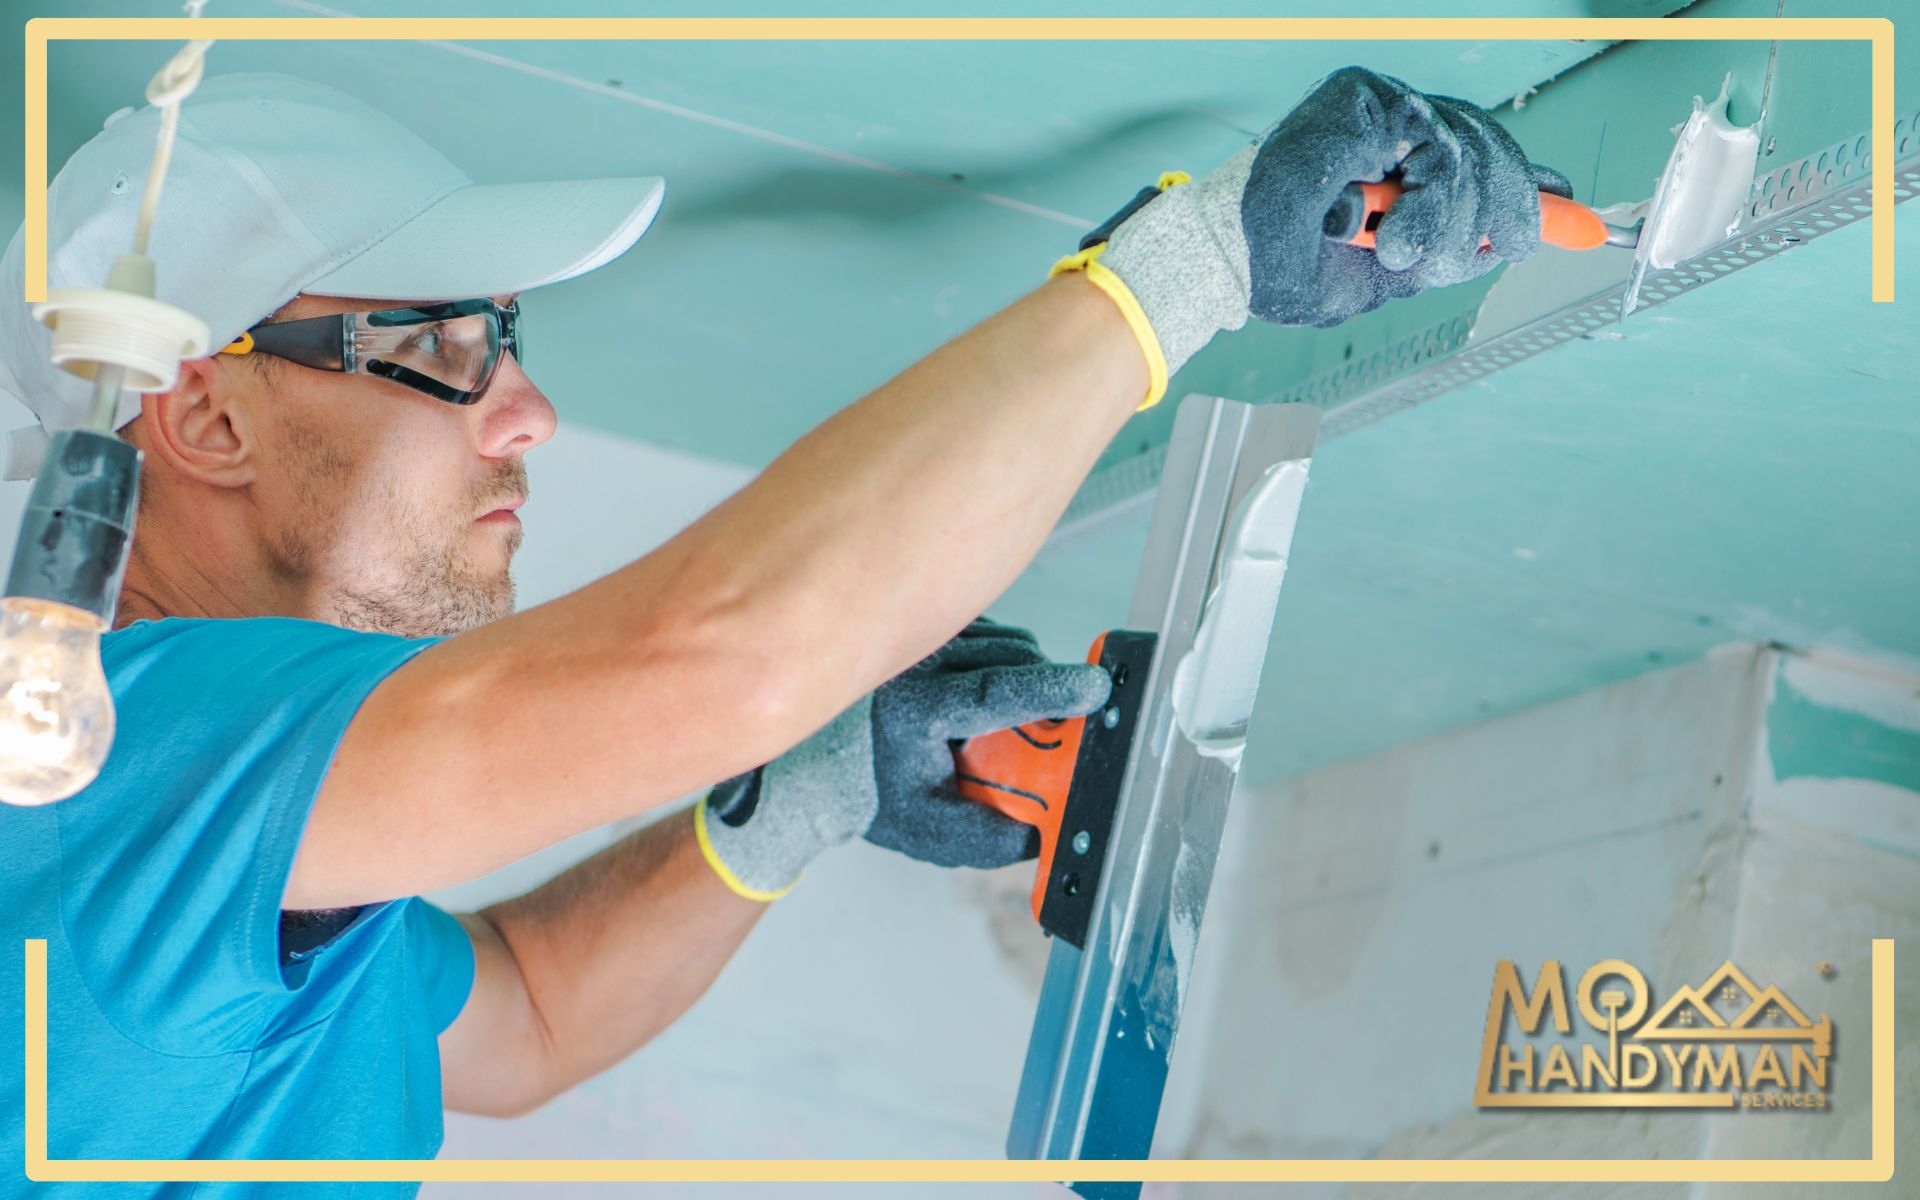
Next, apply joint compound around the patch’s edges. Place drywall tape over the wet compound to cover seams. Smooth out bubbles and excess compound.
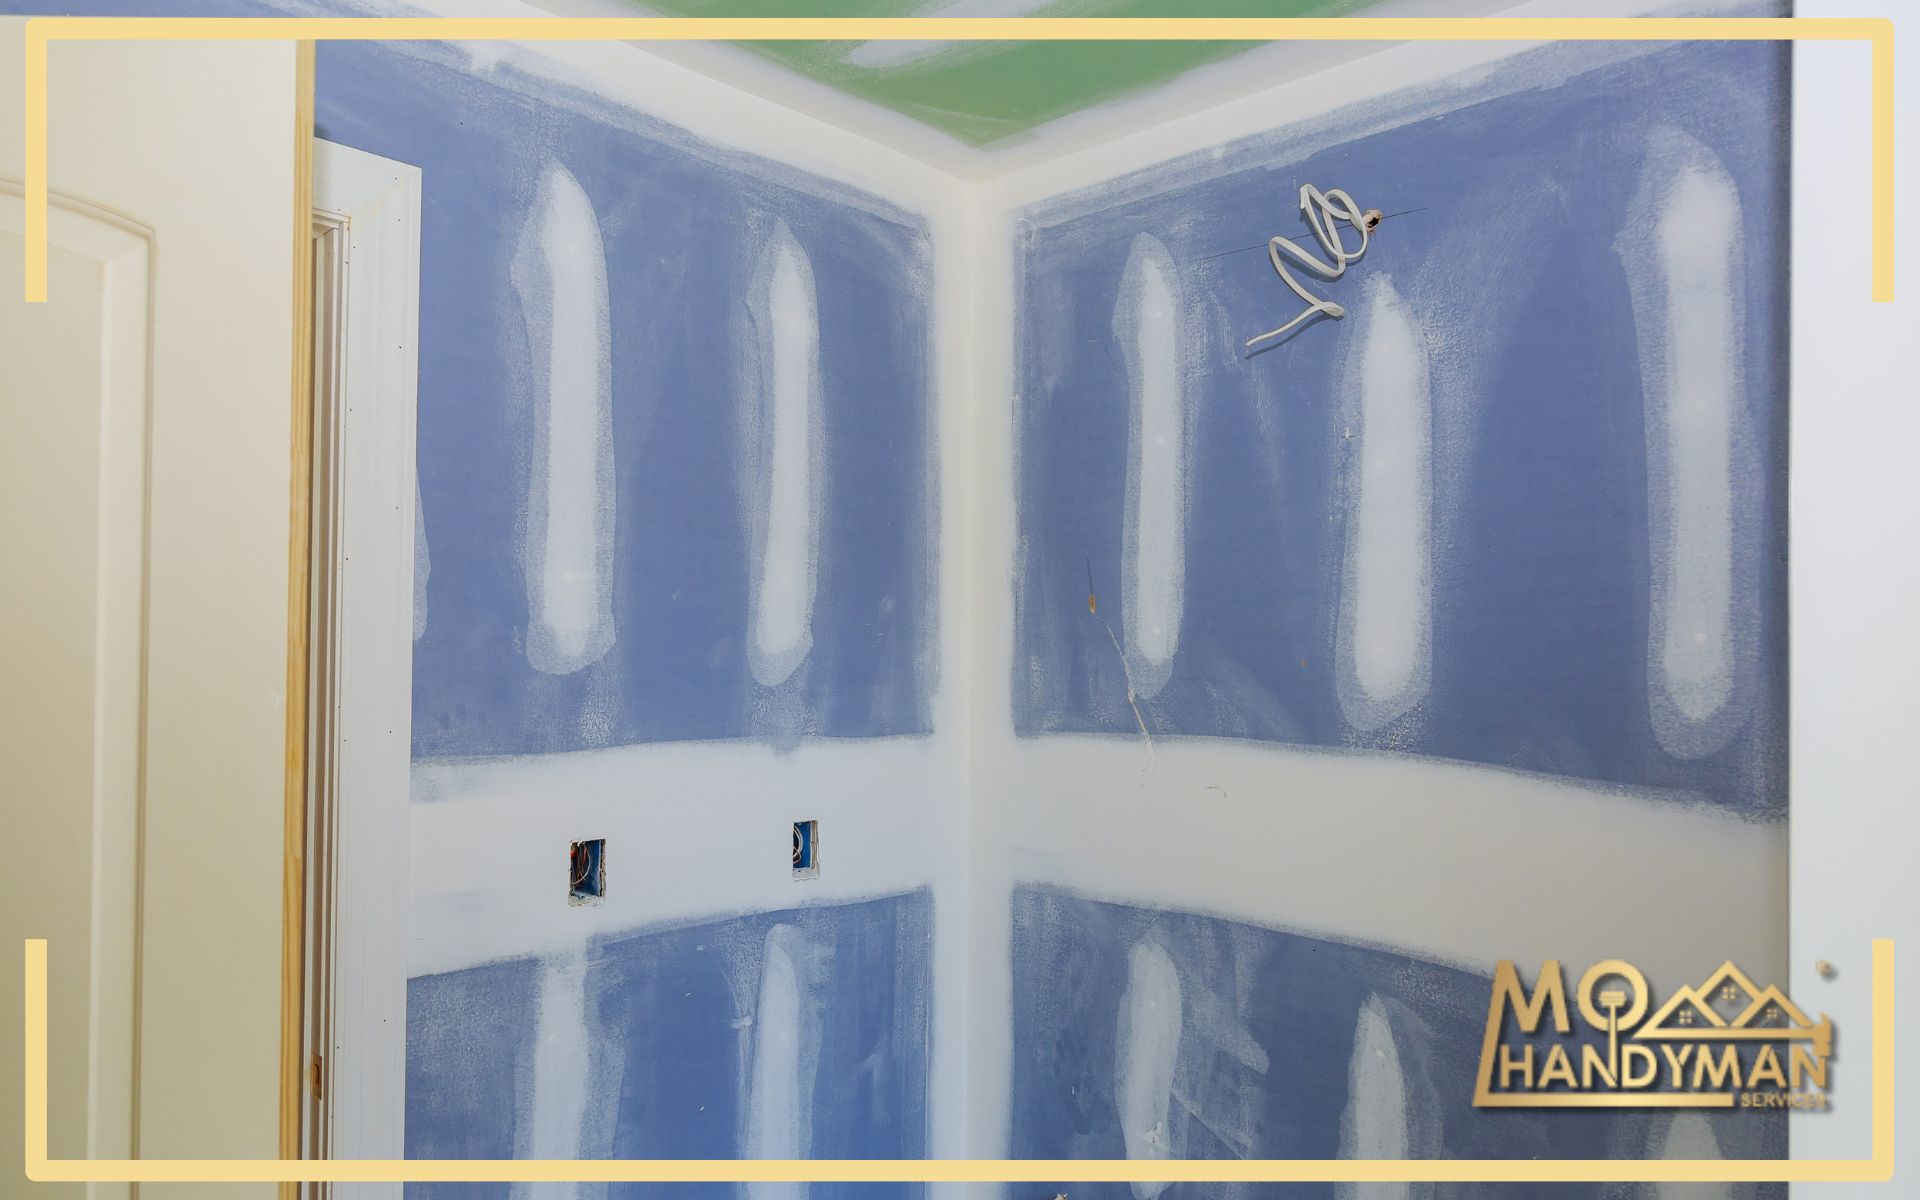
After that, add another layer of compound over the tape. Feather the edges to blend with the wall. Allow ample drying time, then sand until smooth.
Additionally, consider the wall’s finish. Matching the texture around the repair is crucial for a seamless look. Various drywall texture methods can replicate existing wall textures.
How do you fix noticeable drywall seams? Similar steps apply. Ensure the joint compound is smooth and the tape is well-applied. Feathering the edges of the compound helps blend the repair into the wall.
Moreover, for a professional finish, patience in sanding is key. Drywall sanding tips include using a fine-grit sandpaper and a sanding block for even pressure.
For visual learners, this tutorial breaks down the repair process, offering practical insights into achieving seamless results.
Finally, maintain the tools for lasting use. Clean them after each project to ensure they’re ready for your next DIY adventure.
This guide aims to empower you with the knowledge to repair drywall step by step. Up next, we’ll explore smoothing techniques that elevate your repair work to professional standards.
Perfecting Seamless Drywall Finishing
Achieving seamless drywall finishing often hinges on how well you handle seams and cracks. Addressing the common concern, “How do you fix noticeable drywall seams?” involves precision and the right techniques.
Seam Repair Made Simple
Initially, inspect the seam for any loose tape or compound. Remove these imperfections carefully. Applying a fresh layer of joint compound over the seam is your next step. Ensure the layer is thin and even. After it dries, gently sand the area. This step is crucial for a smooth finish.
Crack Fixing Techniques
Similarly, when tackling cracks, start by widening the crack slightly. This paradoxical step allows for better compound adhesion. Fill the gap with a flexible joint compound, designed to move with your house and prevent future cracking. Sanding it smooth after drying is essential.
Additionally, consider using mesh tape for reinforcing seams and cracks. This tape provides extra strength, reducing the likelihood of recurring issues. Overlaying it with joint compound and smoothing it out integrates the repair into the wall seamlessly.
Sanding for Smoothness
Furthermore, mastering drywall sanding tips is vital for seamless finishing. Opt for a fine-grit sandpaper and sand in gentle, circular motions. This approach avoids gouging the surface. Always aim for a feathered edge where the compound meets the wall. This blending is key to invisibility.
Incorporating these methods into your drywall repair and installation projects ensures durability and beauty. For detailed tutorials and additional tips, exploring resources like MoHandyman’s residential services can provide further guidance.
Next, we’ll delve into the nuances of smoothing drywall repairs, ensuring your walls are not only sturdy but also visually appealing. Remember, achieving seamless results is a blend of technique, patience, and practice.
Wrapping Up: Your Path to Drywall Mastery
Embarking on the journey of drywall repair and installation can seem daunting at first. However, with the right knowledge, tools, and a bit of practice, achieving seamless walls is within your reach. From understanding the essential tools and techniques for drywall repair to mastering the art of smoothing repairs for a flawless finish, every step you take brings you closer to perfecting your living space.
Remember, seamless drywall finishing is not just about aesthetics; it’s about creating durable, beautiful walls that stand the test of time. Whether you’re patching a small hole, fixing a crack, or installing new drywall, the principles of patience, precision, and attention to detail remain the same.
For those looking to dive deeper into drywall repair and installation, or needing a bit of extra help, professional services like MoHandyman offer the expertise and support to ensure your projects are successful.
As you move forward with your drywall projects, keep in mind that every challenge is an opportunity to learn and improve. With each wall you finish, you’re not just repairing or installing drywall; you’re shaping a home that reflects your dedication to quality and comfort.
Thank you for joining us on this guide to seamless drywall finishing. Here’s to many successful projects and the satisfaction of a job well done!


