Drywall installation is a crucial part of any DIY home improvement project. When done correctly, it can provide a smooth canvas for painting and decorating. However, some common mistakes can lead to less-than-desirable results and additional costs. In this comprehensive guide, we’ll cover essential tips and methods for successful DIY drywall installation, and we’ll delve into some typical errors people often make during the process.
Understanding Drywall
Before beginning your DIY drywall installation, it’s vital to comprehend the intricacies of wall construction. Drywall, also known as plasterboard, is a popular material for constructing interior walls. It’s durable and provides a smooth finish when installed correctly. With thoughtful preparation and adherence to the steps outlined in this wall construction guide, you can sidestep frequent pitfalls and ensure a professional-quality job.
What Are Two Common Mistakes Made During Drywalling?
Missteps can occur at any phase of the drywall installation process, but two common errors stand out. Firstly, imprecise measurements and cuts can lead to significant gaps. Consistent accuracy is key. Secondly, many DIYers fall into the trap of over-sanding, which can weaken the integrity of the drywall and create an uneven surface. Keeping these common drywall mistakes in mind can help avoid major issues as you move forward.
Should Drywall Be Butted Tight?
When installing drywall, a snug but not tight fit is crucial. Leaving a small gap, roughly 1/8 inch, allows for natural expansion and contraction due to temperature and humidity fluctuations. Overly tight joints can lead to cracks as the seasons change. Remember, proper drywall installation doesn’t just involve securing the panels, it entails understanding the properties of the material.
Essential Drywall Installation Tips
Embarking on a DIY drywall project requires more than enthusiasm; it demands precise knowledge and technique. Here are some drywall installation tips that cater to DIY home improvement enthusiasts:
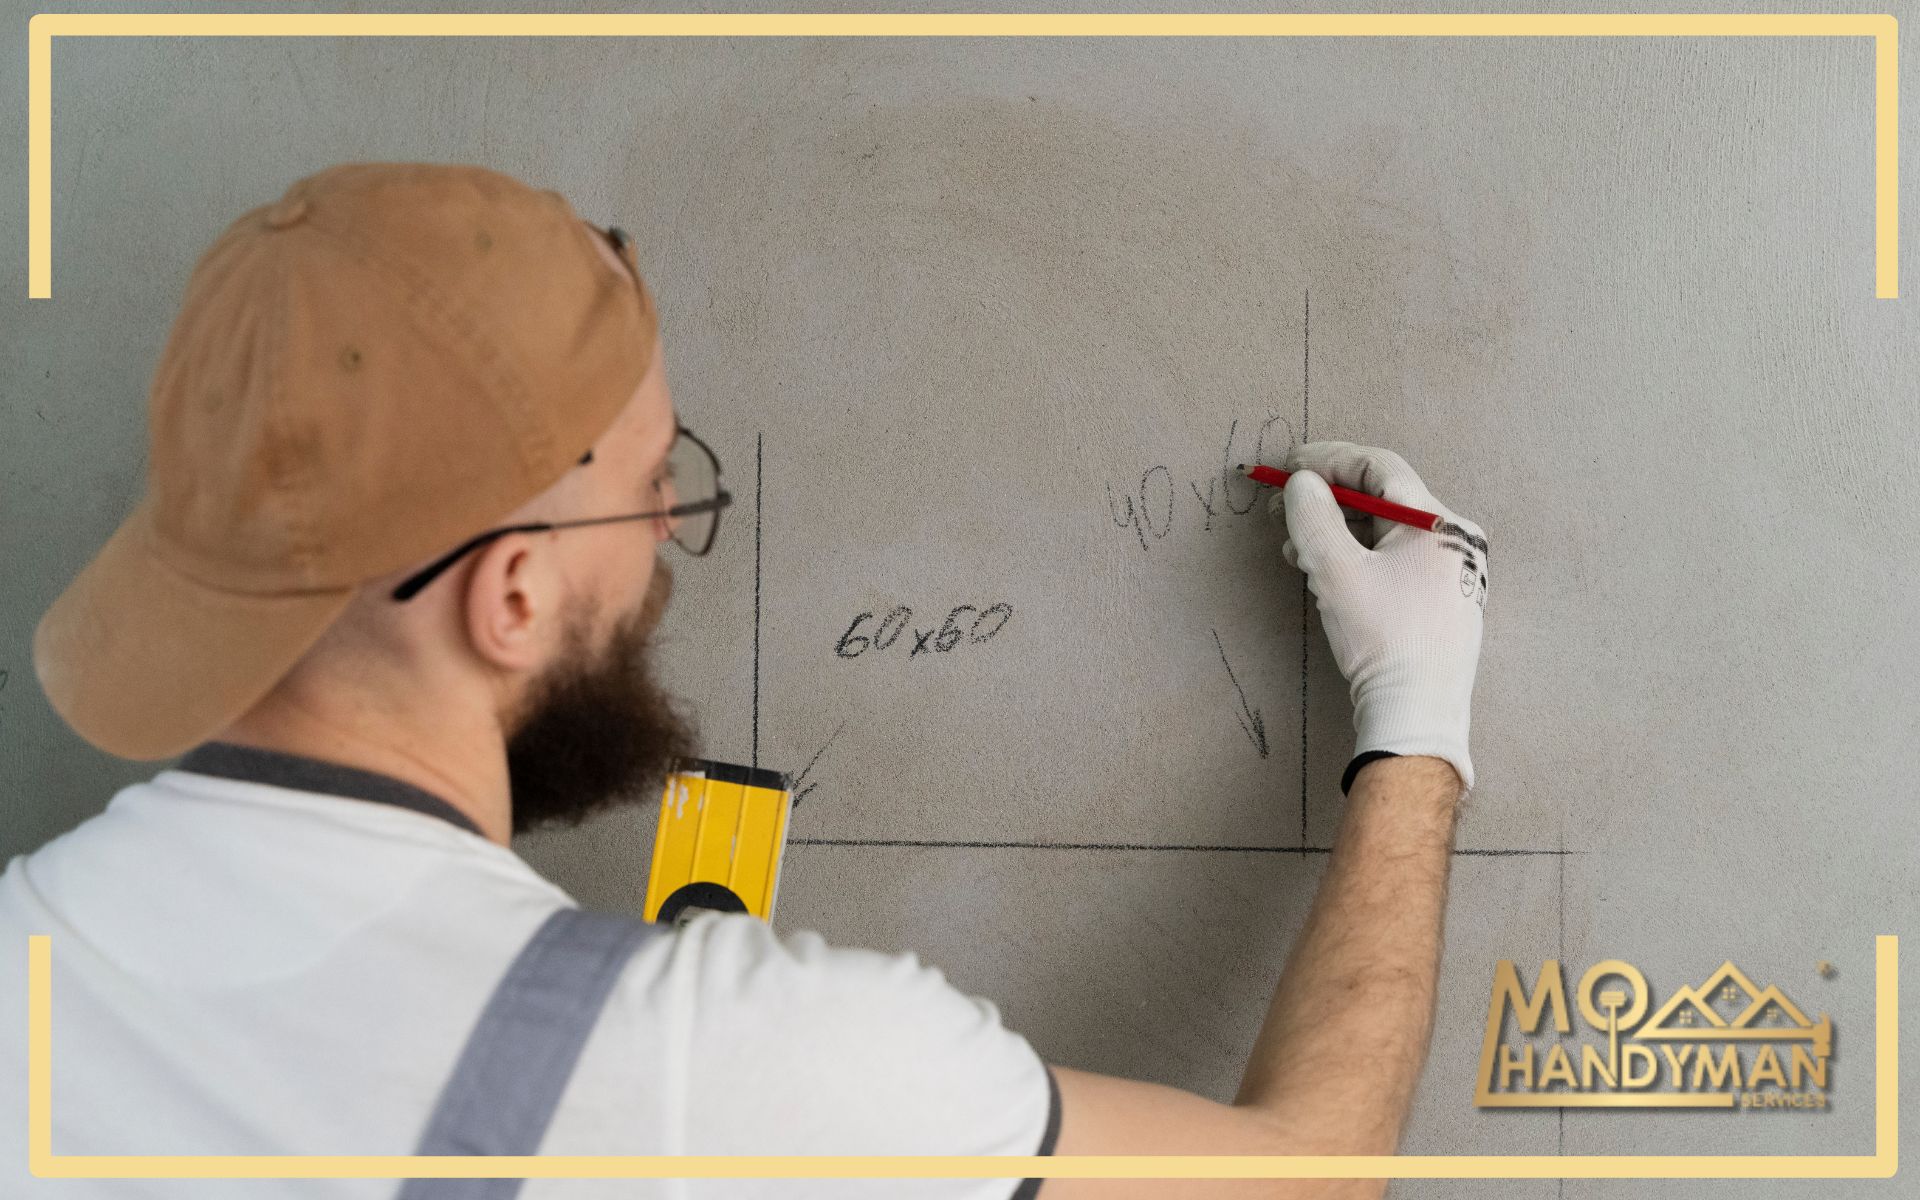
- Measure twice, cut once: Accuracy is critical. Double-check measurements before cutting.
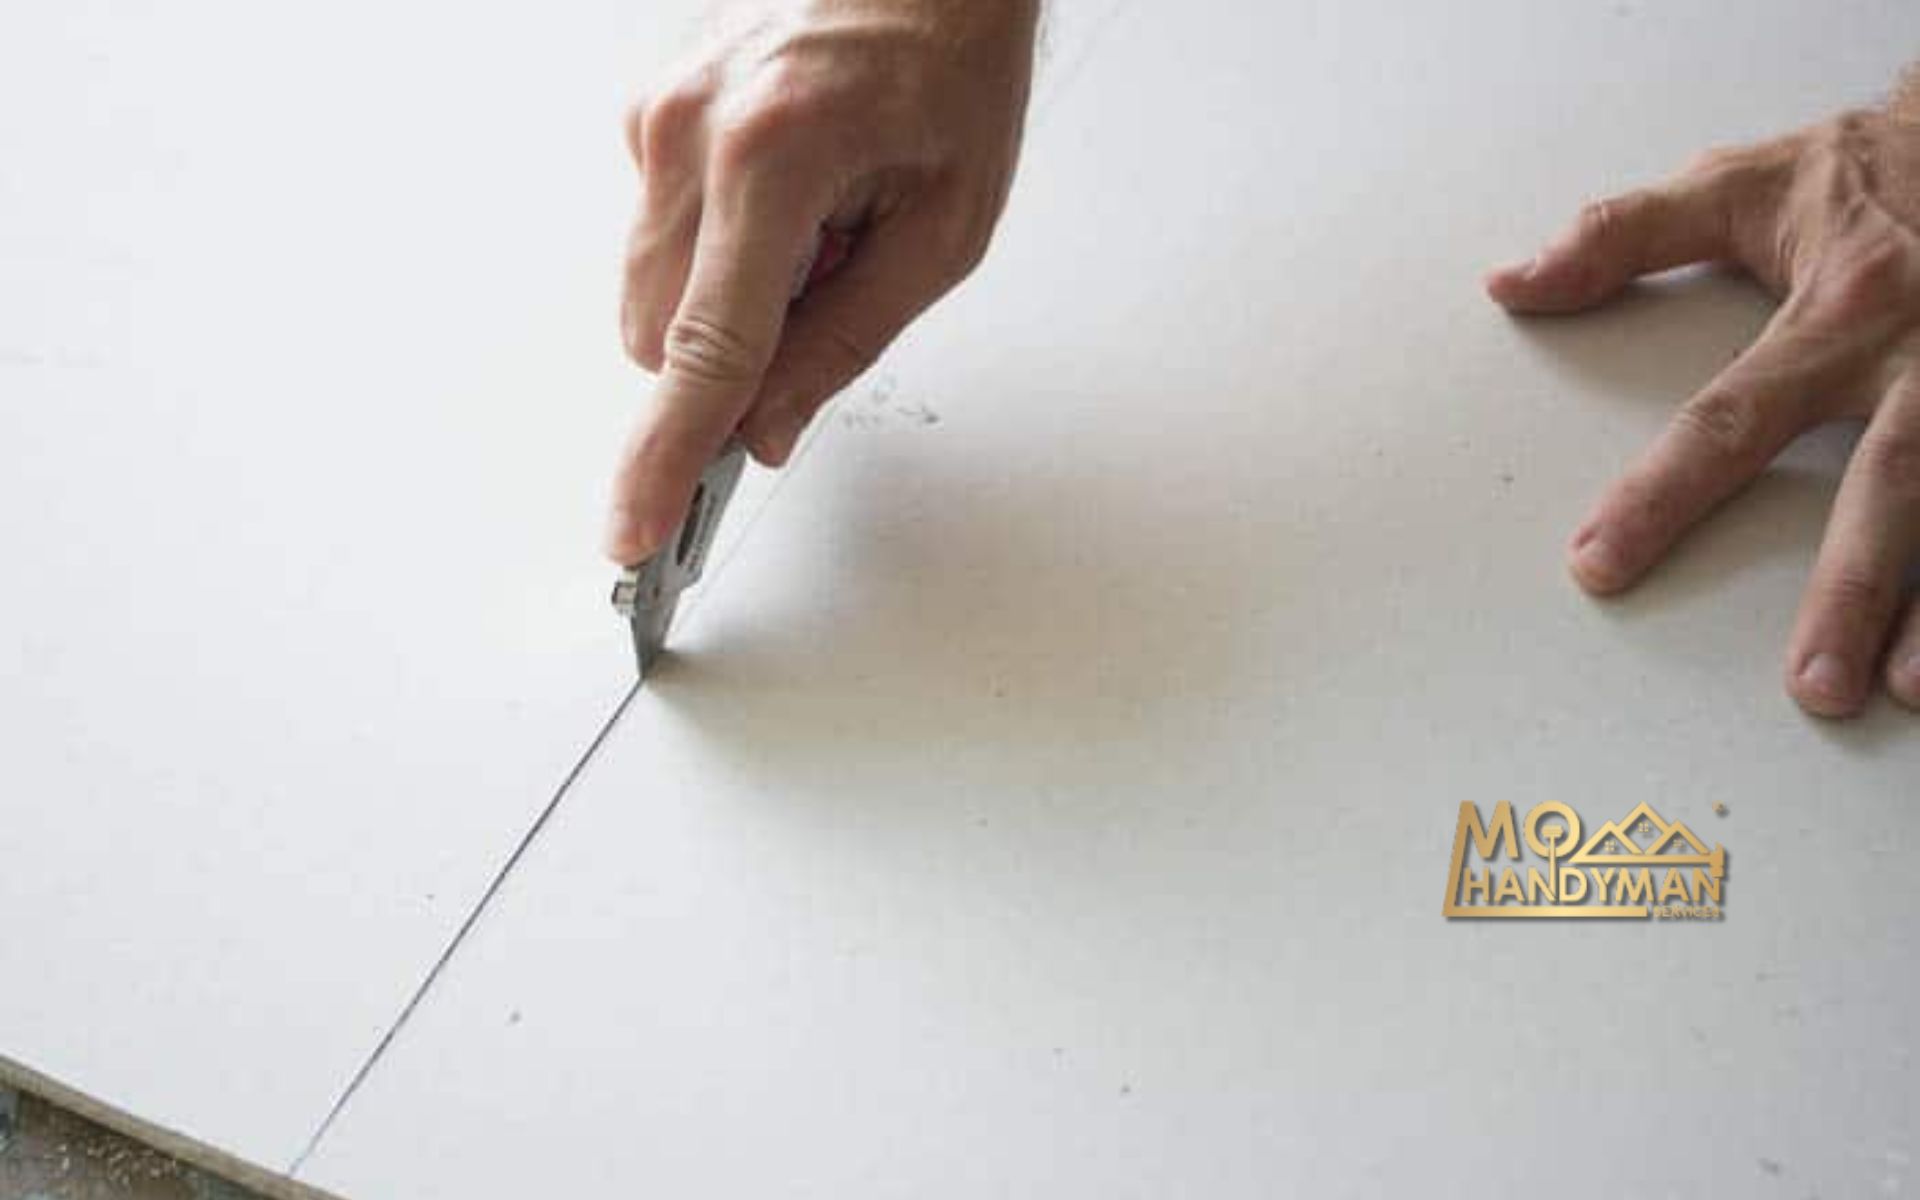
- Use the right tools: Drywall T-squares and sharp blades make precise cuts easier.
- Secure it properly: Use the right type and length of screws to avoid sagging.
For more intensive assistance and services, consider connecting with professionals, like those at MO Handyman, who can guide or take over if needed.
How Not to Install Drywall
Avoiding drywall issues begins with recognizing how not to tackle the installation. Never rush through measuring or securing the panels. Avoid using too many screws or nails, as this can result in dimpling or even damage the drywall. Moreover, ignore the temptation to skip the seam-taping step. This crucial part ensures a seamless finish.
Common Mistakes in Mudding and Taping
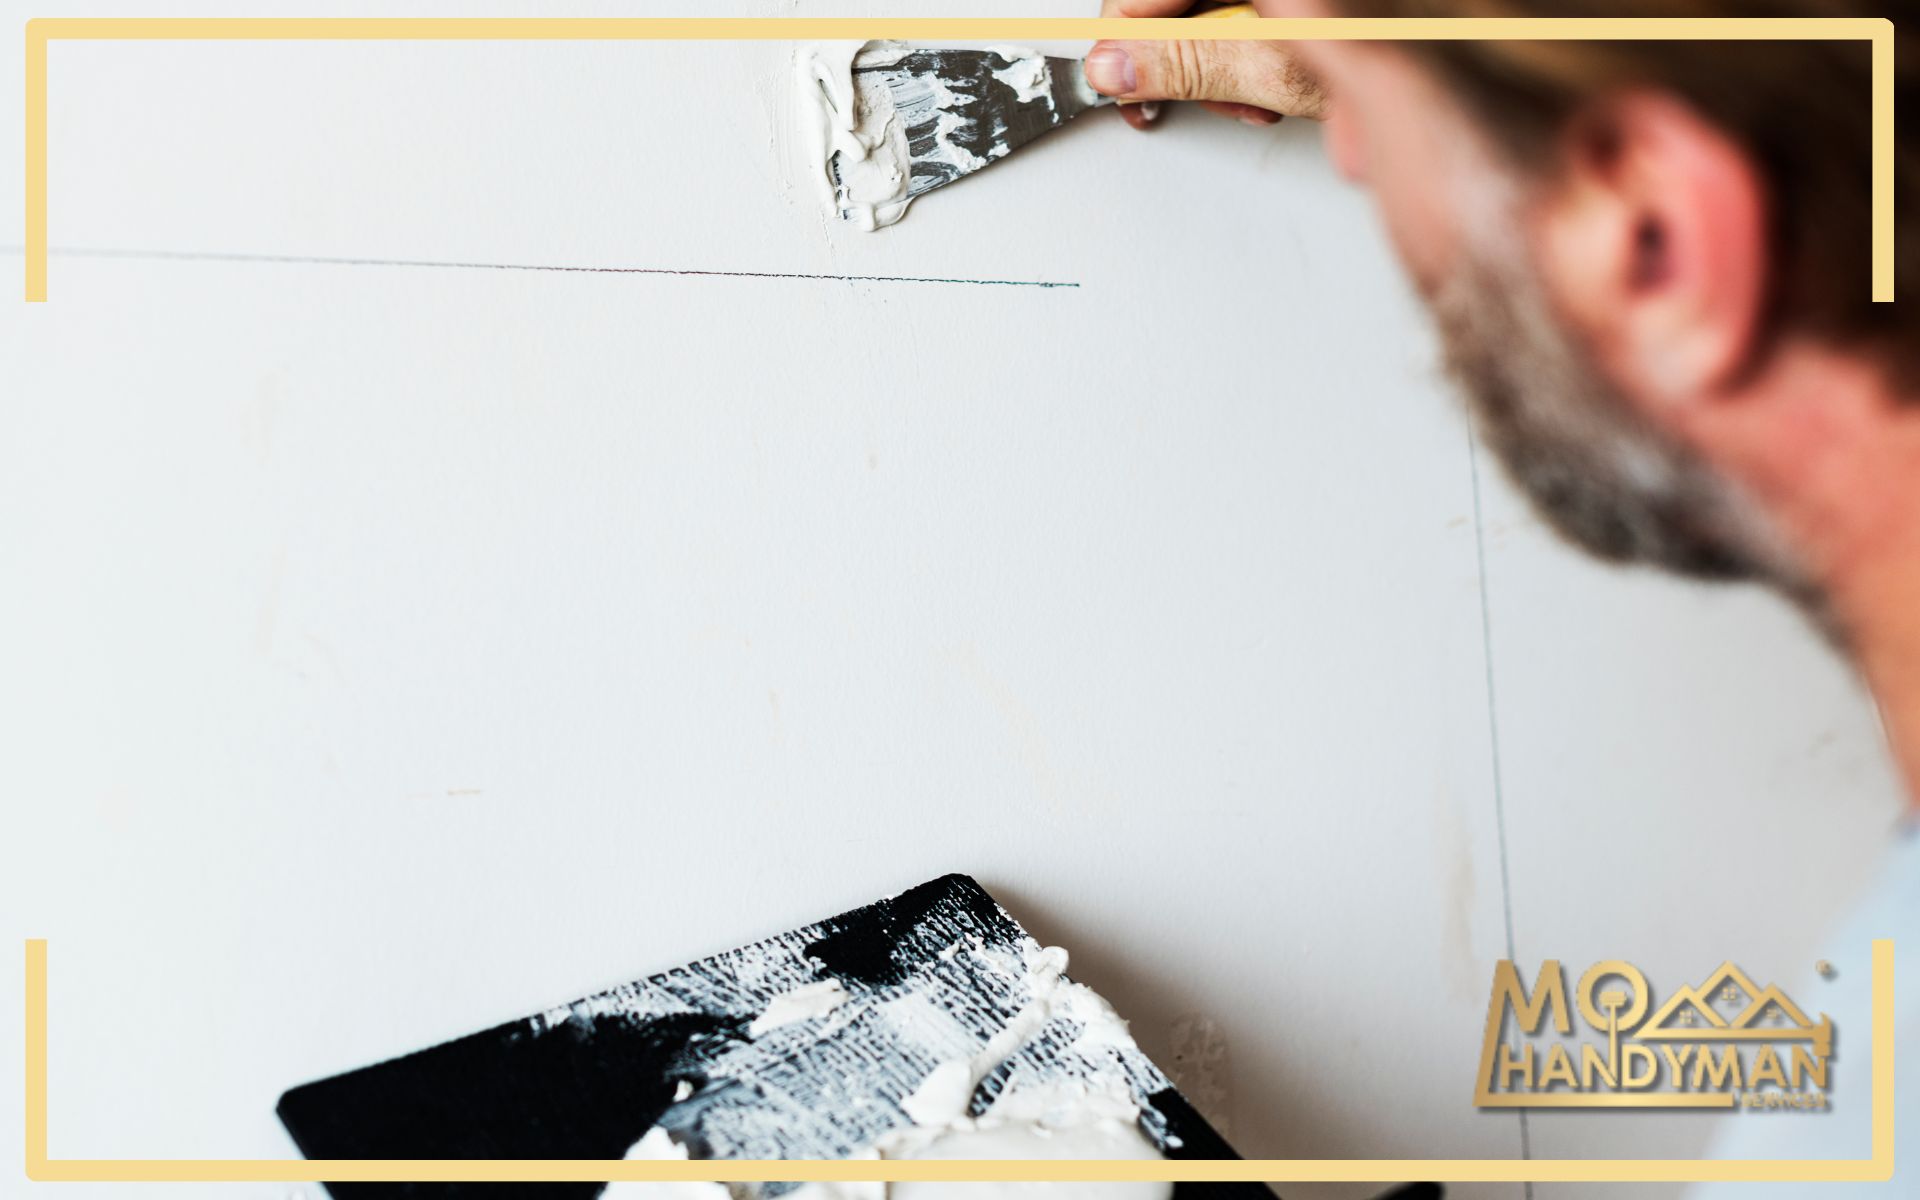
Mudding and taping are where the true art of drywall finishing comes into play, and here’s where many DIYers encounter trouble. Some forget to apply a thin layer of mud before taping, leading to air bubbles and weak joints. Others overlook the importance of feathering the edges of the joint compound, resulting in a conspicuous finish. Patience and meticulous attention during these steps will pay dividends in the finish quality.
Avoiding Drywall Finishing Blunders
Drywall finishing requires a refined touch. It’s not simply about slathering on joint compound and calling it done. Strive for evenness and smoothness in every layer, and allow adequate drying time between coats. One major tip among drywall finishing tips is to use the right type of mud for different stages of the process.
What Are Some of the Most Common Mistakes People Make When Mudding and Taping a Wall?
Aside from what’s been mentioned, a frequent error involves not applying enough joint compound or applying it too thickly. Both extremes can lead to cracking or difficulty sanding. Additionally, neglecting to sand between coats or doing so unevenly will result in an amateur look.
DIY Guide to Interior Wall Setup
Having covered dos and don’ts, let’s delve into a structured approach to your DIY wall setup project. Start by planning the layout of your drywall sheets, considering the position of studs and minimizing the number of cuts. For rooms with high moisture, such as bathrooms, opt for moisture-resistant drywall.
Home Renovation Basics: Tips and Tricks
Home renovations can be overwhelming, but a few basic tips can ease the process. Keep a clean workspace, systematically remove debris, and maintain your tools. Don’t hesitate to measure again before any irreversible actions, and ensure that you’re working with good lighting to spot potential flaws.
Perfecting Plasterboard: A DIY Guide
Now that we’ve covered the pitfalls to avoid, let’s talk about fine-tuning your DIY plasterboard installation skills. One plasterboard installation error is failing to stagger the seams, which can affect the wall’s strength and aesthetics. When it comes to cutting drywall, a tidy scoring and snapping method is more effective than sawing.
For more pro tips and pitfalls to avoid, check out this helpful resource which can provide additional insights into DIY drywall installation.
Ensuring Professional Results in DIY Drywall
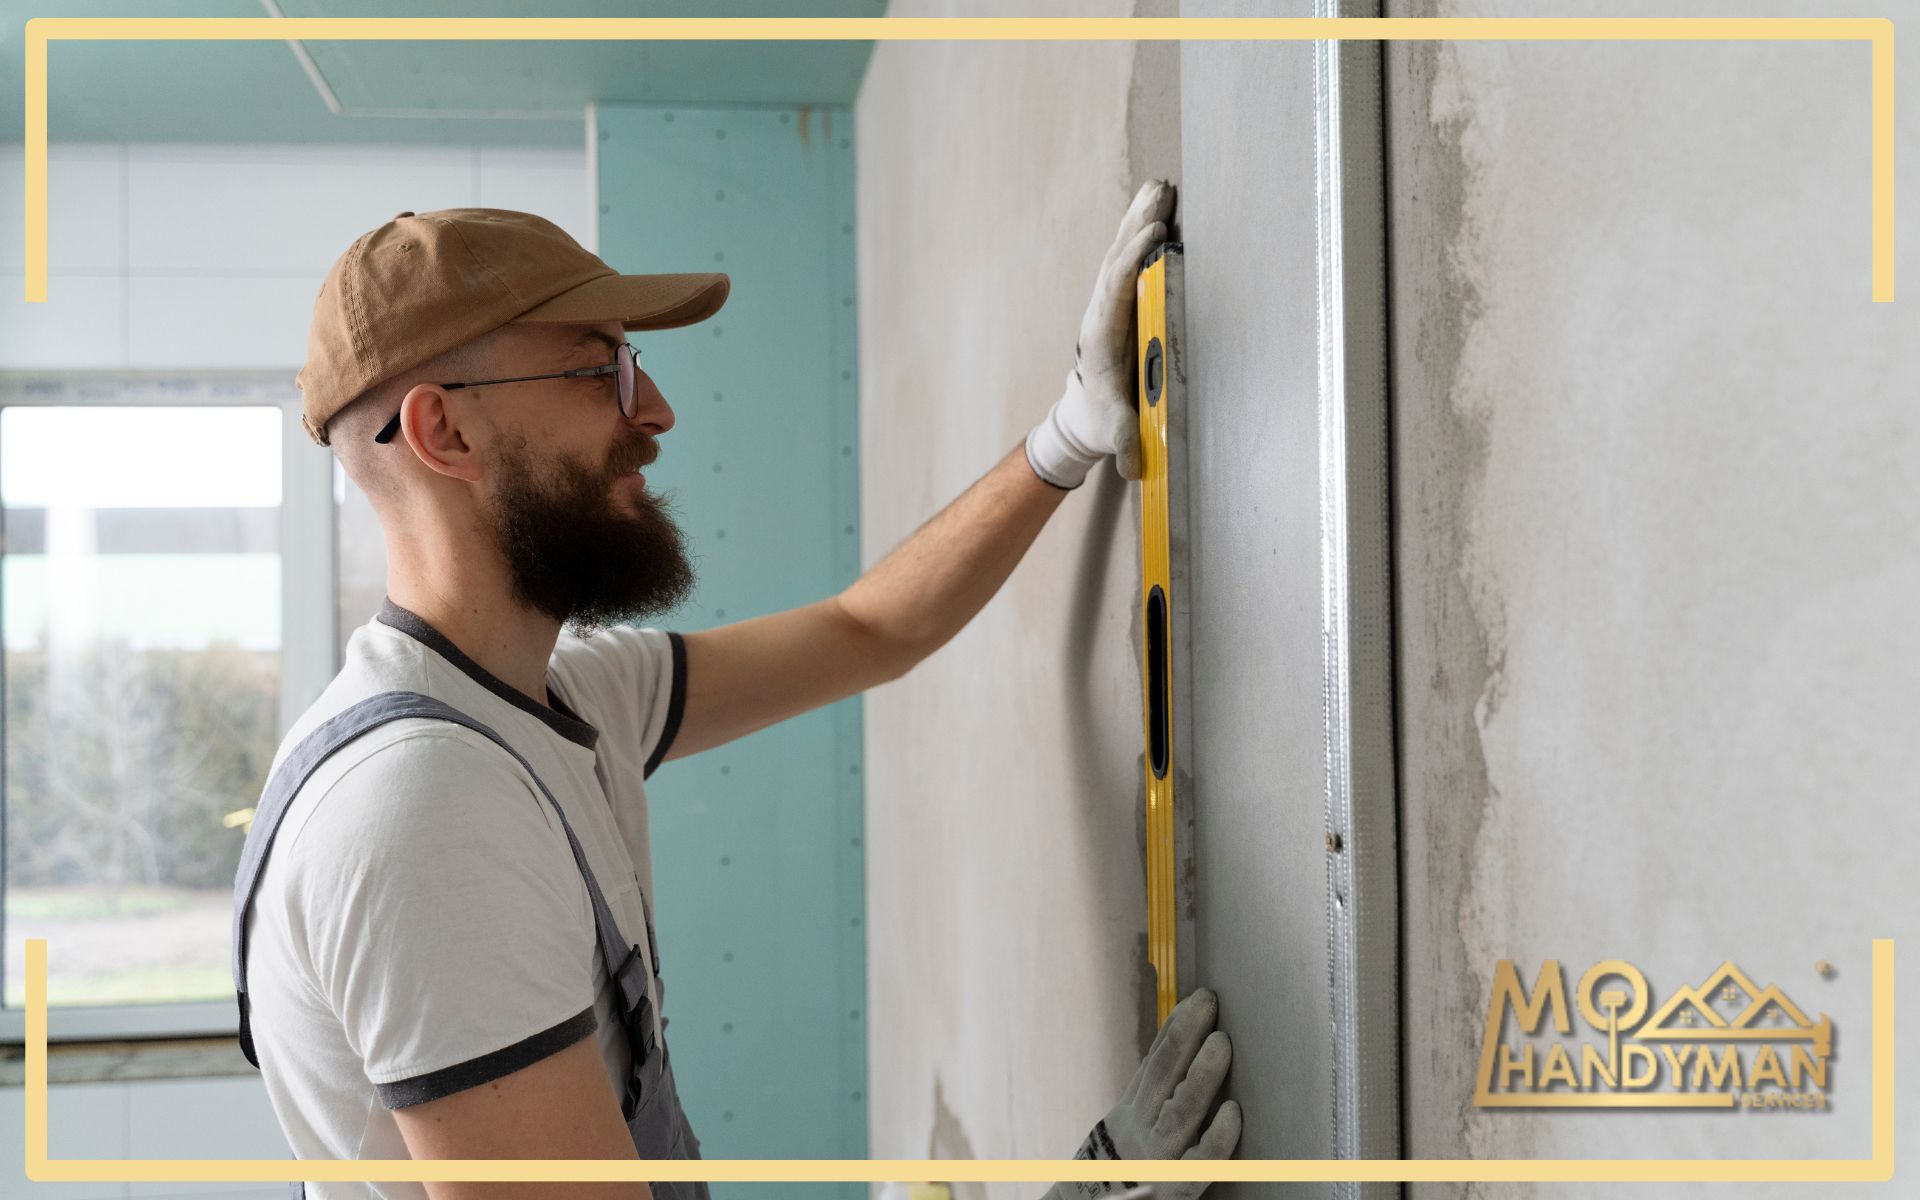
Achieving a professional look in your DIY drywall installation is all about precision and patience. Before you approach the finishing stages of your project, make sure that each panel of drywall is aligned correctly and secured with the proper spacing. This foundational work is crucial for preventing issues like bulging or uneven seams. Furthermore, take special care when applying joint compound during the mudding and taping phases. A smooth, well-applied first coat can significantly reduce the amount of sanding needed later on, which not only saves time but also minimizes dust. Another important aspect is to keep the workspace clean and organized, which reduces the risk of accidents and helps in maintaining a high quality of work. By following these detailed steps and maintaining a meticulous approach throughout the process, you can ensure that your DIY efforts yield results that are both beautiful and durable.
Conclusion
Whether you’re a seasoned DIYer or a newcomer to home renovation, mastering drywall installation is a valuable skill. By avoiding the common mistakes we’ve discussed and following the installation and finishing tips provided, you’ll be well on your way to achieving clean, smooth walls that serve as the foundation for any decor.
Remember, if you’re ever in doubt or need assistance, don’t hesitate to reach out to professional services like MO Handyman for guidance. Now, take a deep breath, prepare your workspace, and get ready to transform your interior with the confidence that you’re prepped to avoid common DIY drywall installation mistakes.

