Embracing a Fresh Coat: Preparing Home Exterior for Paint
Embarking on an exterior paint makeover for your home isn’t just about selecting the perfect shade; it’s an investment in your property’s longevity and curb appeal. The first step involves extensive home painting preparation to ensure the new paint adheres properly and looks flawless for years to come. Guidance is plentiful—if you know where to look. Start your journey with local experts for solid advice and options at Mo Handyman Residential Services.
Planning Your Approach: Home Exterior Painting Checklist
Before diving brush-first into your DIY home painting prep, it’s essential to create a home exterior painting checklist. This list will guide you through the process and ensure you cover all the bases for a professional-quality outcome.
How do I prepare my home’s exterior for painting?
Preparation begins with a thorough inspection of your home’s exterior. Look for signs of damage, such as peeling paint, cracks, or rot. Address these issues before proceeding, as a solid foundation is critical for new paint. Follow home painting preparation tips like trimming away any plants or shrubbery that might interfere, and cover plants and pathways to protect them from drips and spills.
Cleaning Home Exterior Before Painting: The Essential First Step
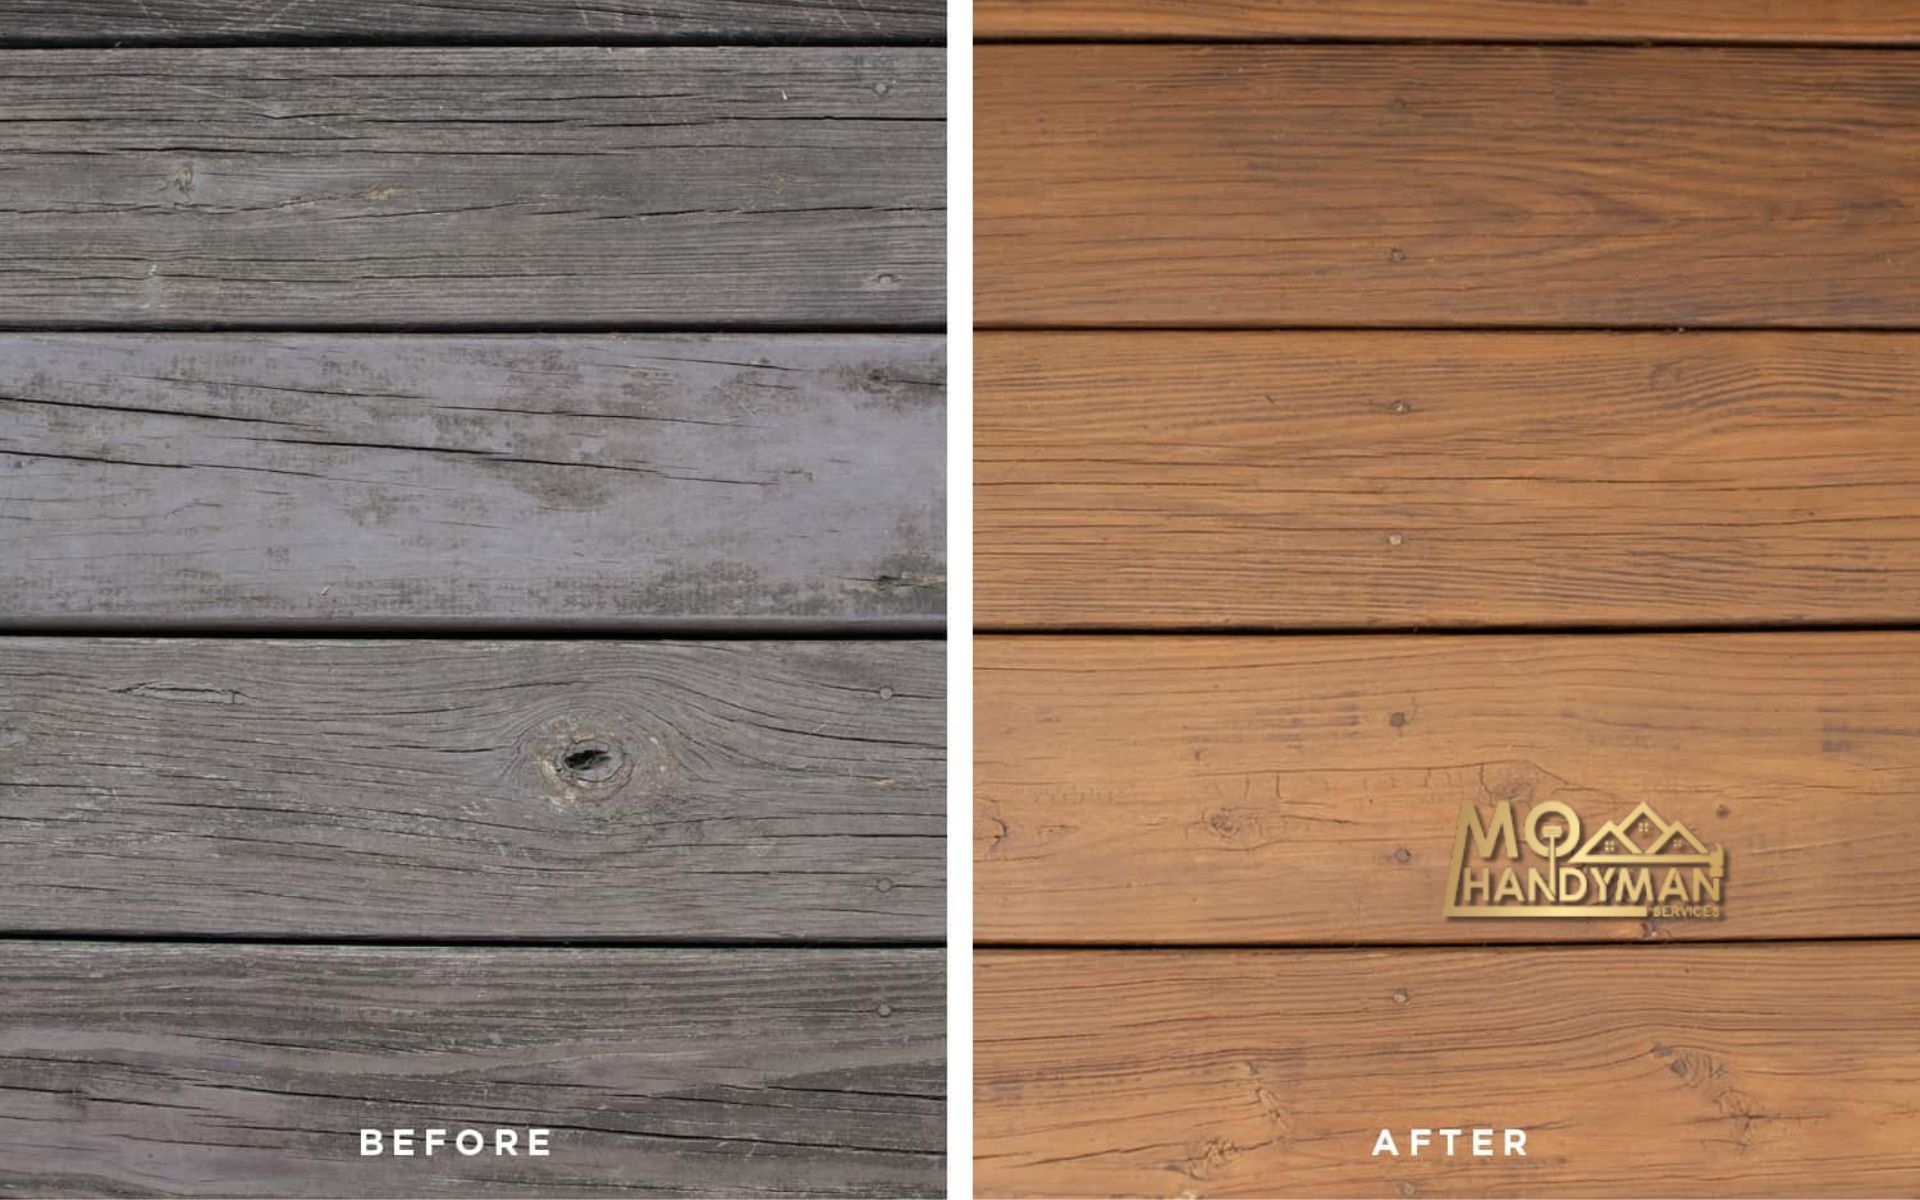
A pristine canvas ensures a better finish. Hence, the importance of cleaning your home exterior before painting cannot be overstated. Start by removing dirt, mildew, and grime to allow new paint to bond with the surface properly.
What are the steps to clean the exterior before painting?
Begin with a power washer to remove loose paint and debris. A mixture of water and mild detergent often suffices for non-greasy areas, while a trisodium phosphate (TSP) solution can tackle tougher spots. Be methodical, work in sections, and allow the surface to dry completely before proceeding.
Laying the Groundwork: Preparing Surfaces for Exterior Paint
Once you’ve cleaned the exterior thoroughly, it’s time for the nitty-gritty part. Sanding and scraping are part of preparing surfaces for exterior paint. These steps ensure not just cleanliness but also smoothness, helping the new coat of paint to adhere better and last longer.
How can I ensure a smooth surface before painting my home’s exterior?
Start by scraping off any remaining flaky or chipped paint. Then, sand the surface smoothly, focusing on rough spots and transitions between different materials. For wood, a medium-grit sandpaper should do the trick, while metal surfaces might require a finer grit. Always take safety precautions by wearing a mask and eye protection during this process.
Stocking up on the Right Gear: Exterior Painting Preparation Tools
Equipping yourself with the proper tools is crucial. Investing in quality brushes, rollers, and sprayers can make a significant impact on the ease of application and final look of your paint job.
What tools do I need for preparing my home for exterior paint?
You’ll need a variety of tools, from basic to more specialized items:
- Power washer
- Scrapers
- Sandpaper or a sanding block
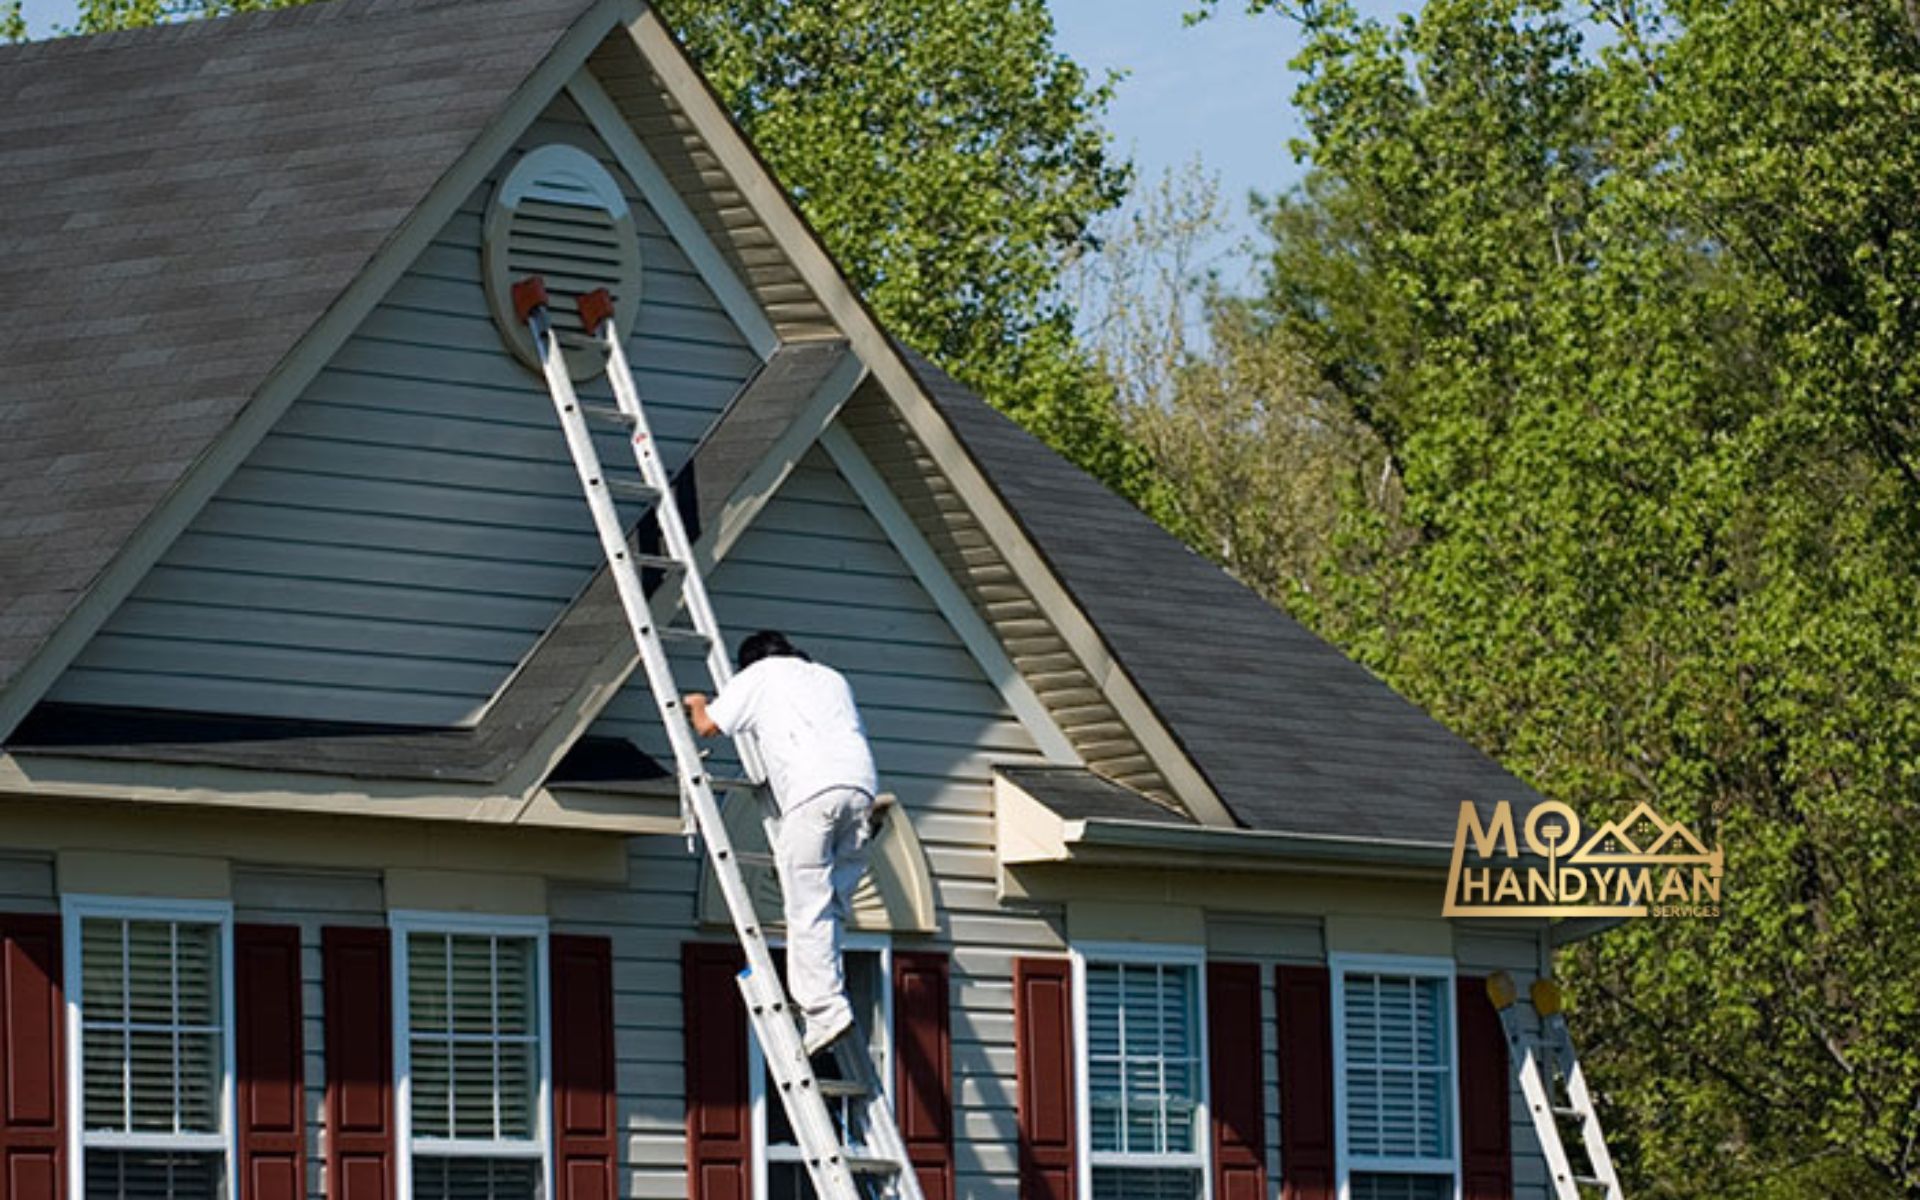
- Ladders or scaffolding
- Caulking gun
- Putty knife
- Drop cloths
- Painter’s tape
- Brushes and rollers
- Paint sprayer (optional)
A thoughtful approach to assembling your tools ensures you won’t find yourself mid-prep needing to run out for a missing piece.
Securing Lasting Results: Best Practices for Exterior Paint Prep
Proper preparation is the key to lock in that fresh, professional look. By following best practices for exterior paint prep, you make the work easier and set the stage for a stunning and enduring finish.
Patience and attention to detail go a long hand in this phase. You need to fill in cracks and gaps with weather-resistant caulk, especially around windows and doors. Additionally, replacing any rotten wood and fixing loose planks or shingles can prevent problems down the line.
Leveling Up Your DIY Game: Exterior Paint Makeover Guide
For those looking to tackle their exterior paint makeover DIY style, gathering the right information and resources is integral. From learning techniques for effective caulking to tips on choosing the right primer, ample resources such as HGTV’s Exterior Paint Guide here can be invaluable.
Tacit Tricks of the Painting Craft
Knowing a few unspoken tricks can elevate your painting project from amateur to expert-grade:
- Timing is everything: Paint under moderate weather conditions to avoid rapid drying or wash-outs.
- Quality counts: Don’t skimp on materials. High-quality paint and tools translate to a more professional finish.
- Test your choices: Apply samples to small sections before fully committing to a color.
- Mind the details: Use painter’s tape to protect windows and trim for clean, sharp edges.
Expanding Your Painting Horizons
Painting your home’s exterior can be a substantial undertaking. Yet for those aspects outside your comfort zone—like high peaks or detailed woodwork—it may be best to call in the professionals. Explore options such as assistance with tricky areas or consultation on material choices at Mo Handyman Other Services, where expertise can guide your hand.
Maximizing Curb Appeal: Adding Final Touches
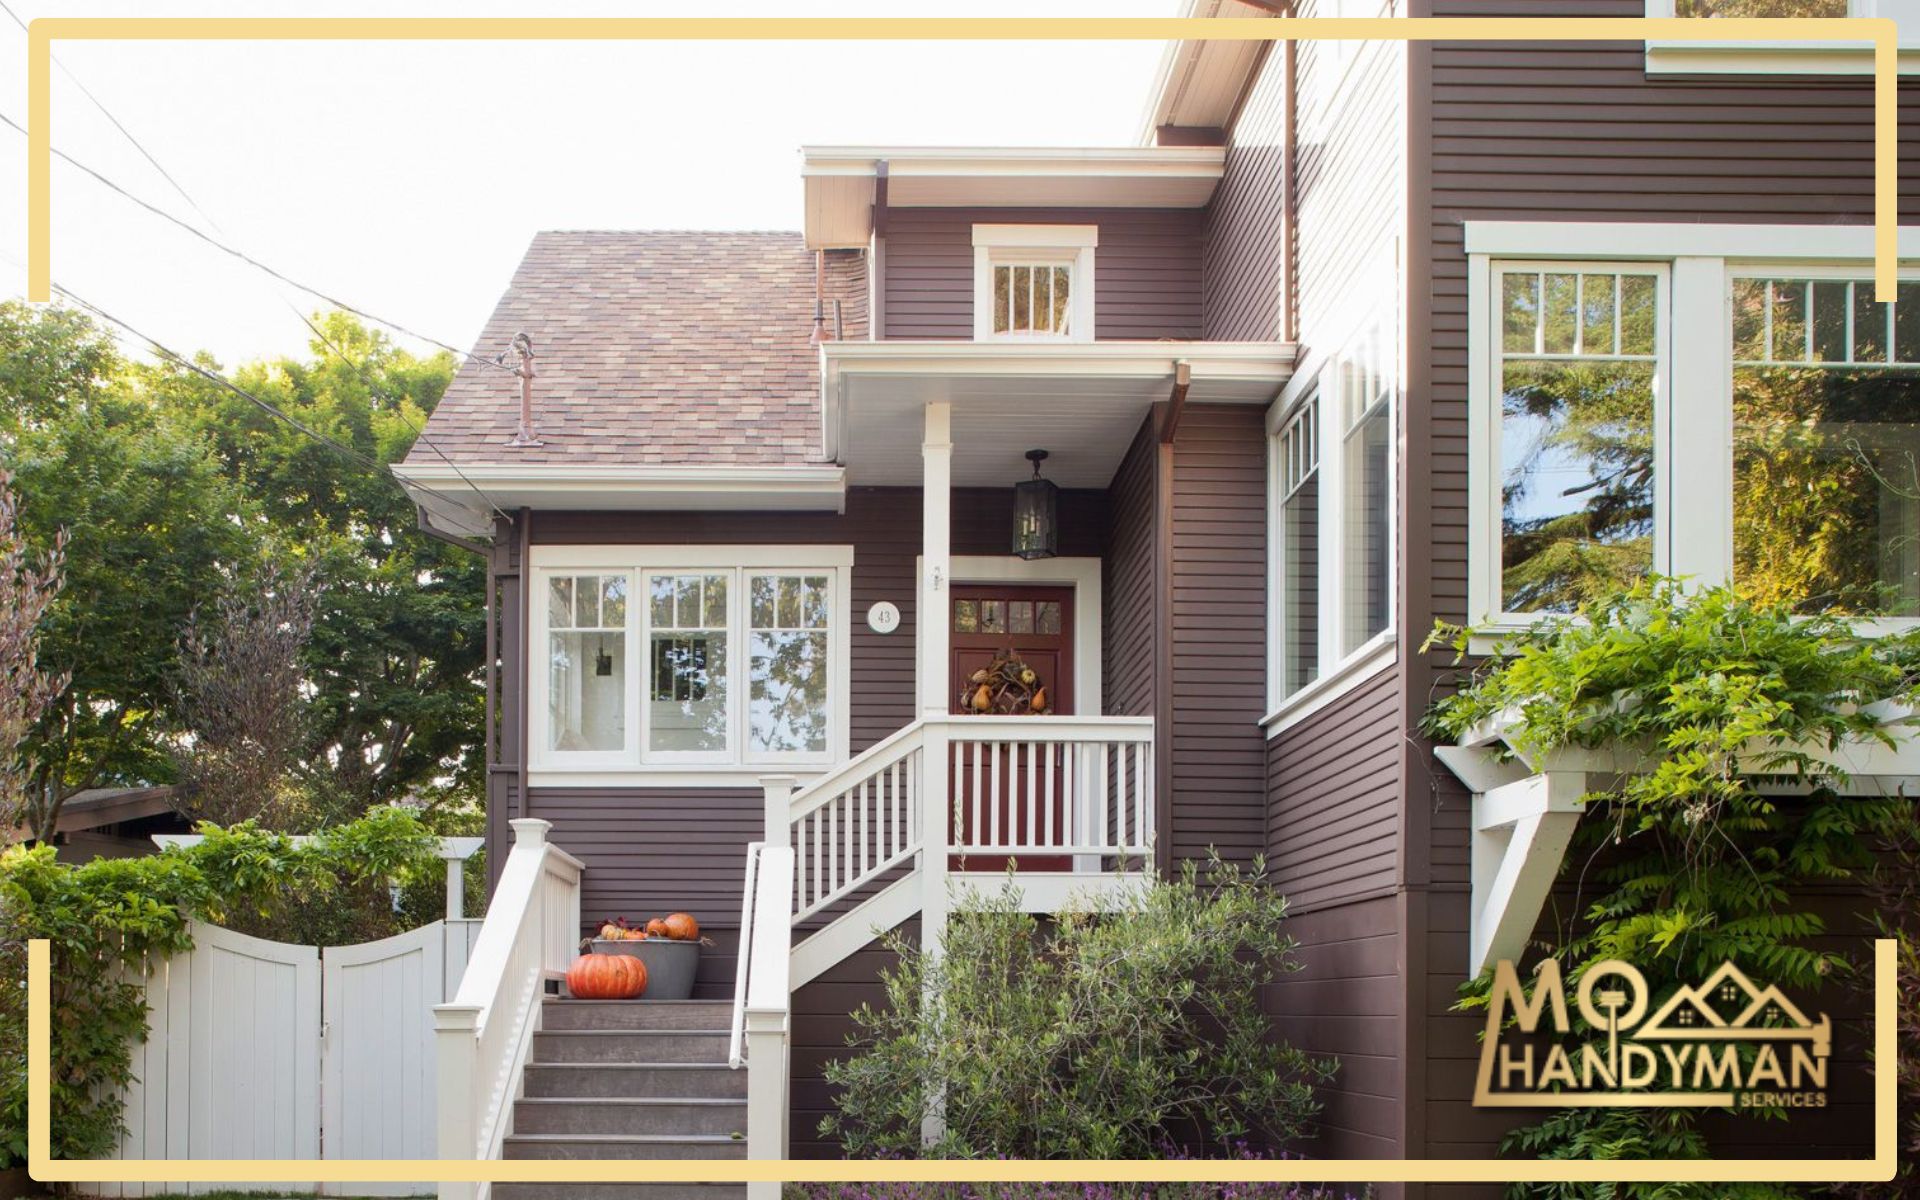
Before concluding your exterior paint makeover project, consider adding some final touches to maximize curb appeal. Small details like updating house numbers, refreshing mailbox or door hardware, and adding outdoor lighting can elevate the overall look of your home. Additionally, don’t forget about landscaping enhancements such as planting flowers or adding mulch to flower beds. These finishing touches can complement your freshly painted exterior and create a welcoming first impression for visitors. Taking the time to attend to these details ensures a cohesive and polished appearance for your home’s exterior makeover.
Finalizing Your Fresh Facade: The Painting Begins
After diligent preparation, the actual painting feels almost effortless. Start with a good primer, especially on areas with extensive repairs. When applying the paint, work from the top down and maintain a wet edge to avoid lap marks.
Remember to follow each manufacturer’s instructions for the paint and primer, ensuring proper application and drying times. Patience throughout the painting process is the icing on the cake for your labor of love.
Your efforts in the preceding steps culminate here. Watch as your home transforms, validating the care and dedication poured into your DIY project.
In summary, preparing your home exterior for paint demands commitment and thoroughness, but the outcome is worth every hour spent. By cleaning meticulously, ensuring a smooth surface, arming yourself with the necessary tools, adhering to best practices, and employing precision during the painting phase, your home will not only look renewed but also feel protected from the elements. Enjoy the satisfaction of a job well done, and the pride that comes from enhancing your home’s beauty and resilience.

