Drywall Finishing Techniques
Embarking on a DIY home improvement project can transform your space dramatically. One of the core skills you’ll need is mastering drywall finishing techniques. Drywall finishing is more than just a task; it’s an art that can elevate the look and feel of your walls. This guide aims to equip beginners with the foundational knowledge and plastering tips necessary to achieve professional-quality walls. Whether you’re patching drywall or starting from scratch, understanding the basics of how to plaster a wall is crucial.
Drywall installation serves as the canvas for your interior design ambitions. However, achieving a flawless finish requires patience, precision, and the right spackling techniques. In this section, we’ll explore the initial steps towards becoming a skilled drywall finisher, including how to prepare your walls for plastering and the essential tools you’ll need. Moreover, we’ll delve into the differences between drywall vs. plaster, helping you make informed decisions about the materials and methods best suited for your project. For those looking to dive deeper into residential services, explore MoHandyman’s residential services for comprehensive support and expert advice.
Transitioning from a novice to a better drywall finisher begins with understanding the materials and tools at your disposal. Drywall finishing involves several key stages, from the initial application of joint compound to the final sanding and painting. Each step requires attention to detail and a steady hand. By the end of this section, you’ll have a clearer understanding of the drywall finishing process and be well on your way to perfecting your space.
Let’s dive into the world of drywall finishing techniques, where precision meets creativity.
Mastering the Basics: Preparing and Applying Joint Compound
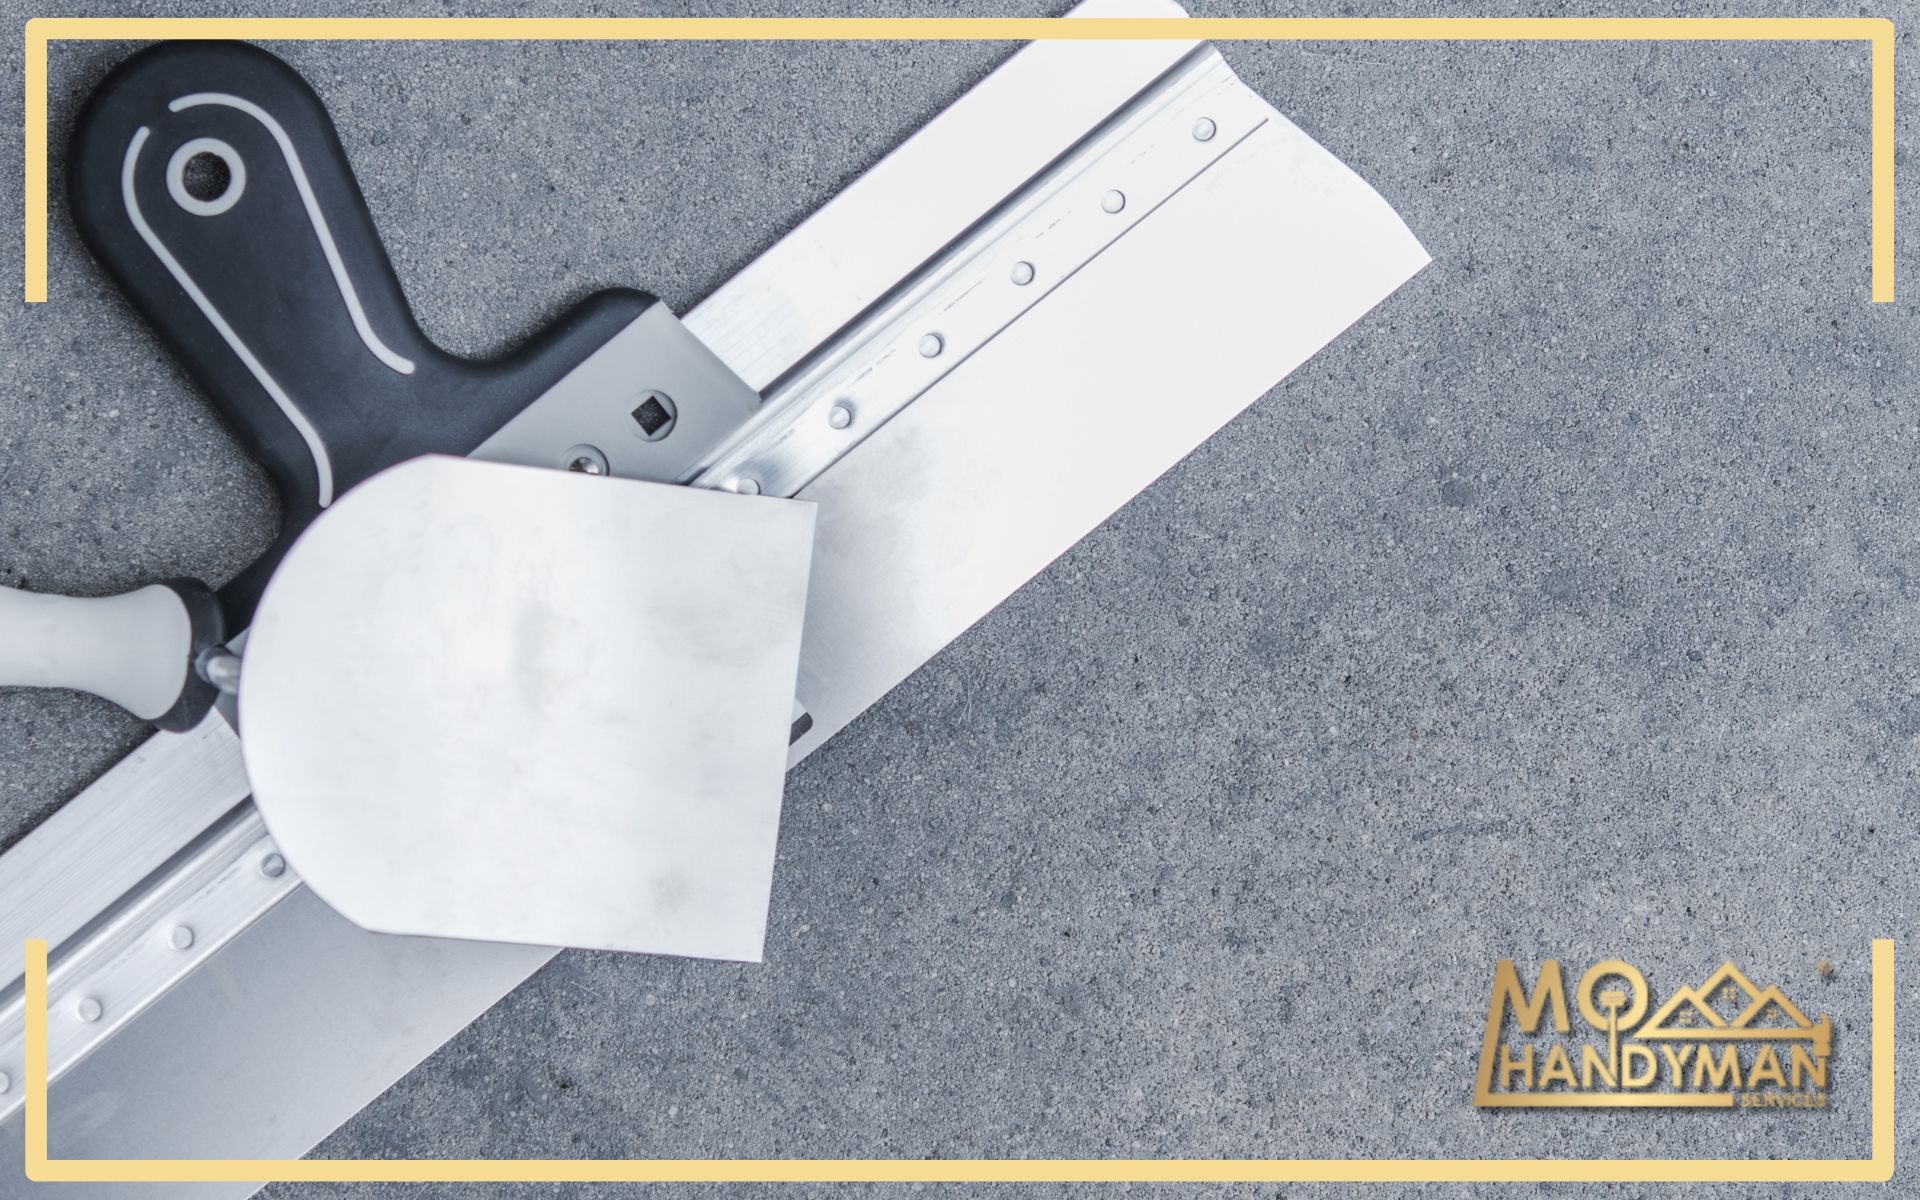
Before diving into the nitty-gritty of drywall finishing, let’s start with the basics. First off, preparation is key. Ensure your workspace is clean and free from dust. Additionally, gather all necessary tools and materials. This includes joint compound, drywall tape, and a variety of trowels and knives. Importantly, wearing protective gear, such as masks and goggles, is crucial for safety.
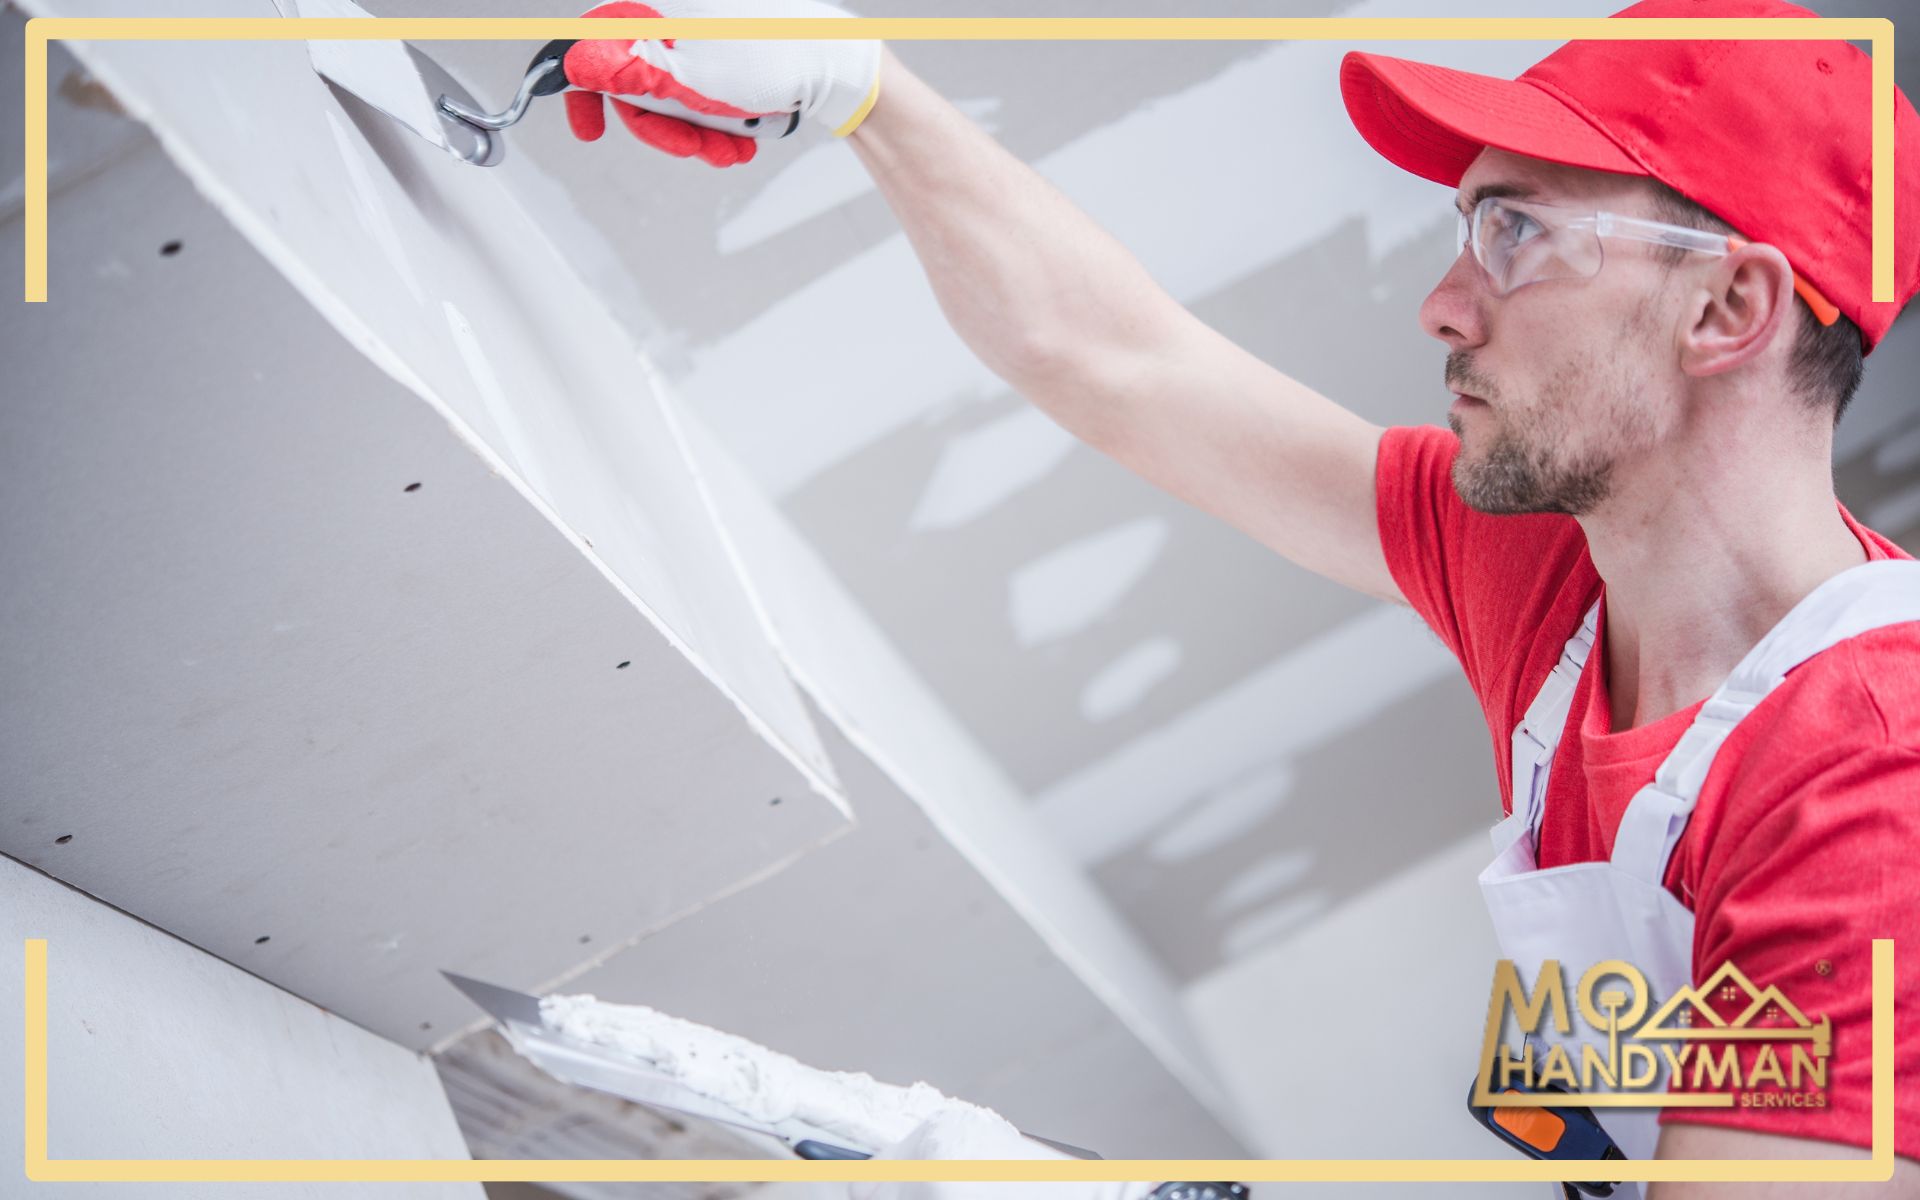
Now, onto applying the joint compound, often referred to as “mudding.” Initially, apply a thin layer over seams and corners. Subsequently, place drywall tape over the wet mud, pressing firmly. Afterward, apply another mud layer, smoothing it out evenly. Remember, achieving a smooth finish takes practice. Thus, don’t get discouraged by initial imperfections.
Furthermore, understanding the difference between drywall vs. plaster is essential. Drywall involves the application of pre-made panels, which are then finished with joint compound. Conversely, plastering is a more traditional technique that involves applying several layers of plaster over lath. Each method has its advantages and considerations.
Moreover, spackling techniques play a crucial role in patching holes and imperfections. For small repairs, spackling paste is an excellent choice. Apply it directly to the area, smooth it out, and allow it to dry before sanding.
Lastly, patience is paramount during this process. Let each layer of mud dry completely before sanding or applying the next coat. This meticulous approach ensures a smoother, more professional finish. By mastering these initial steps, you’re laying the foundation for more advanced drywall finishing techniques.
Transitioning smoothly from preparation to application sets the stage for a successful drywall finishing project.
Achieving a Flawless Plaster Finish on Drywall
Advancing your skills in drywall finishing hinges on mastering the plaster finish. This step is where your efforts begin to visibly pay off, showcasing smooth, seamless walls. To start, ensure your base layers of joint compound are perfectly dry. Then, meticulously apply a final skim coat. This thin layer is the secret to a professional-looking finish.
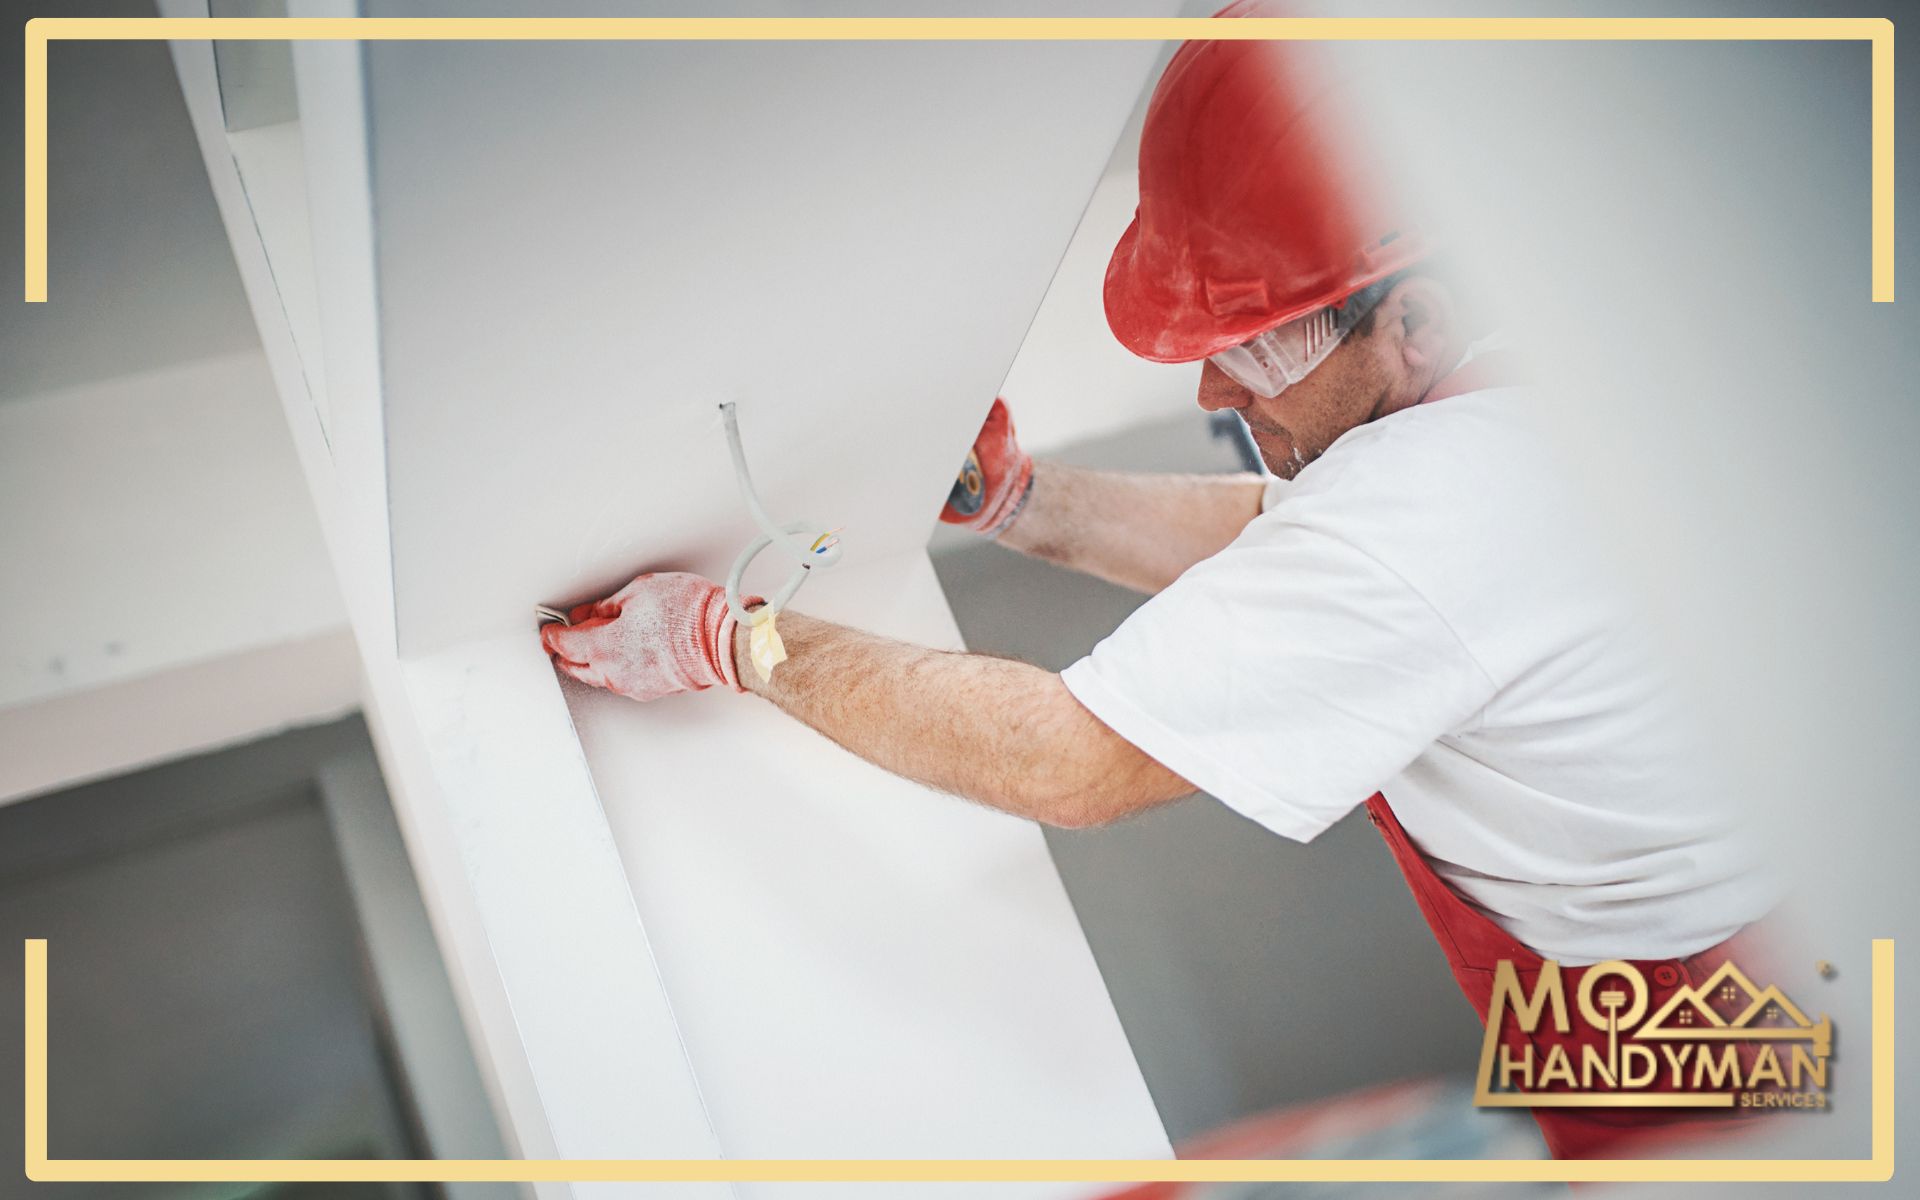
Equally important is the technique used for sanding. Sanding should be gentle yet thorough, aiming to eliminate any ridges or bumps without damaging the wall surface. Employing a fine-grit sandpaper and a light touch is crucial. Moreover, keep your workspace well-lit to easily spot imperfections.
Additionally, the debate of drywall vs. plaster often comes down to the finish each can achieve. While drywall finishing techniques focus on applying and sanding joint compound, traditional plastering can create a variety of textures and effects. However, with the right approach, drywall can mimic the elegant, smooth finish that plaster is known for.
Incorporating spackling techniques to repair any minor flaws is another critical step. Even the smallest imperfection can stand out after painting. Therefore, inspect your work closely, applying spackle to any dings or scratches, then sanding it smooth.
Furthermore, exploring different wall texture types can add character to your rooms. Whether you opt for a subtle orange peel or a more dramatic knockdown texture, the choice can significantly impact the room’s aesthetic.
For those seeking visual guidance, this instructional video offers a comprehensive overview of the process, providing valuable insights into achieving a flawless finish.
Perfecting the plaster finish on drywall requires patience, precision, and practice. By honing your technique and paying attention to detail, you’ll be well on your way to creating beautifully finished walls that enhance your space.
Understanding the Levels of Drywall Finishing
Navigating through the levels of drywall finishing is crucial for any beginner aiming to achieve professional results. These levels range from the basic to the most refined finishes, each suited for different types of projects and finishes.
The initial Level, represents the most basic form, where no finishing has been done after the drywall panels are attached to the frame. This level is typically only used temporarily or when the final surface will be something other than paint or lightweight wallcovering.
The first Level involves a single coat of joint compound applied over the joints, but it’s primarily for areas that are out of sight, like above ceilings or in service areas.
Level 2 adds another layer of joint compound over tape at the joints and corners, suitable for areas where a water-resistant backing board is installed as a substrate for tile.
The third Level includes two coats of joint compound over the joints, corners, and fasteners, preparing walls for a heavy texture or wallcovering that will hide the imperfections.
Level 4 is where most residential and light commercial walls fall. It requires three coats of joint compound, making it suitable for light textures or flat paint. Achieving a smooth finish at this level demands precision and patience during application and sanding.
Finally, Level 5, the highest standard, involves applying a thin skim coat of joint compound over the entire surface. This level is recommended for gloss, semi-gloss paints, or where lighting conditions accentuate imperfections. It’s the pinnacle of drywall finishing, offering a flawless base for the most critical of finishes.
Taping and Mudding Drywall: A Beginner’s Guide
Taping and mudding drywall are essential skills for achieving smooth, seamless walls. This process covers seams and screws, preventing cracks and ensuring a uniform surface for painting or wallpapering. For beginners, mastering these steps can seem daunting, but with the right approach, it’s entirely achievable.
Step 1: Tape the Seams
Begin by applying a thin layer of joint compound (mud) along each seam. Carefully place drywall tape over the fresh mud, pressing it into place with a drywall knife. This step prevents future cracking by bridging the gap between sheets of drywall.
Step 2: Apply the First Coat of Mud
With the tape in place, apply a second, thicker layer of mud over the tape. Use a wider drywall knife for this step to smooth out the compound evenly. Feather the edges to blend into the wall. Allow this coat to dry completely, typically overnight.
Step 3: Sand and Second Coat
After the first coat has dried, lightly sand the area to remove any ridges or bumps. Then, apply a second coat of mud, extending a few inches beyond the first layer’s edges to further smooth the transition between the drywall and the joint compound. Again, let this coat dry thoroughly.
Step 4: Final Coat and Sand
Apply a third and final coat of mud, making it as smooth as possible. This layer should be thin and feathered out well into the surrounding drywall. Once dry, sand the area with fine-grit sandpaper, aiming for a smooth finish that’s indistinguishable from the rest of the wall.
Additionally, tackling the question, “What is the easiest way to finish drywall?” begins with understanding that while there’s no shortcut to quality, using pre-mixed joint compound, self-adhesive mesh tape, and ergonomic tools can make the job easier and more efficient for beginners.


